Making a Mosaic Coat Rack
In a post on social media a few months ago, we commented that there are a lot of steps to making a mosaic coat rack. So we thought it would be fun to expand on that and share each and every step along the way!
{Click on any of the images to enlarge.}


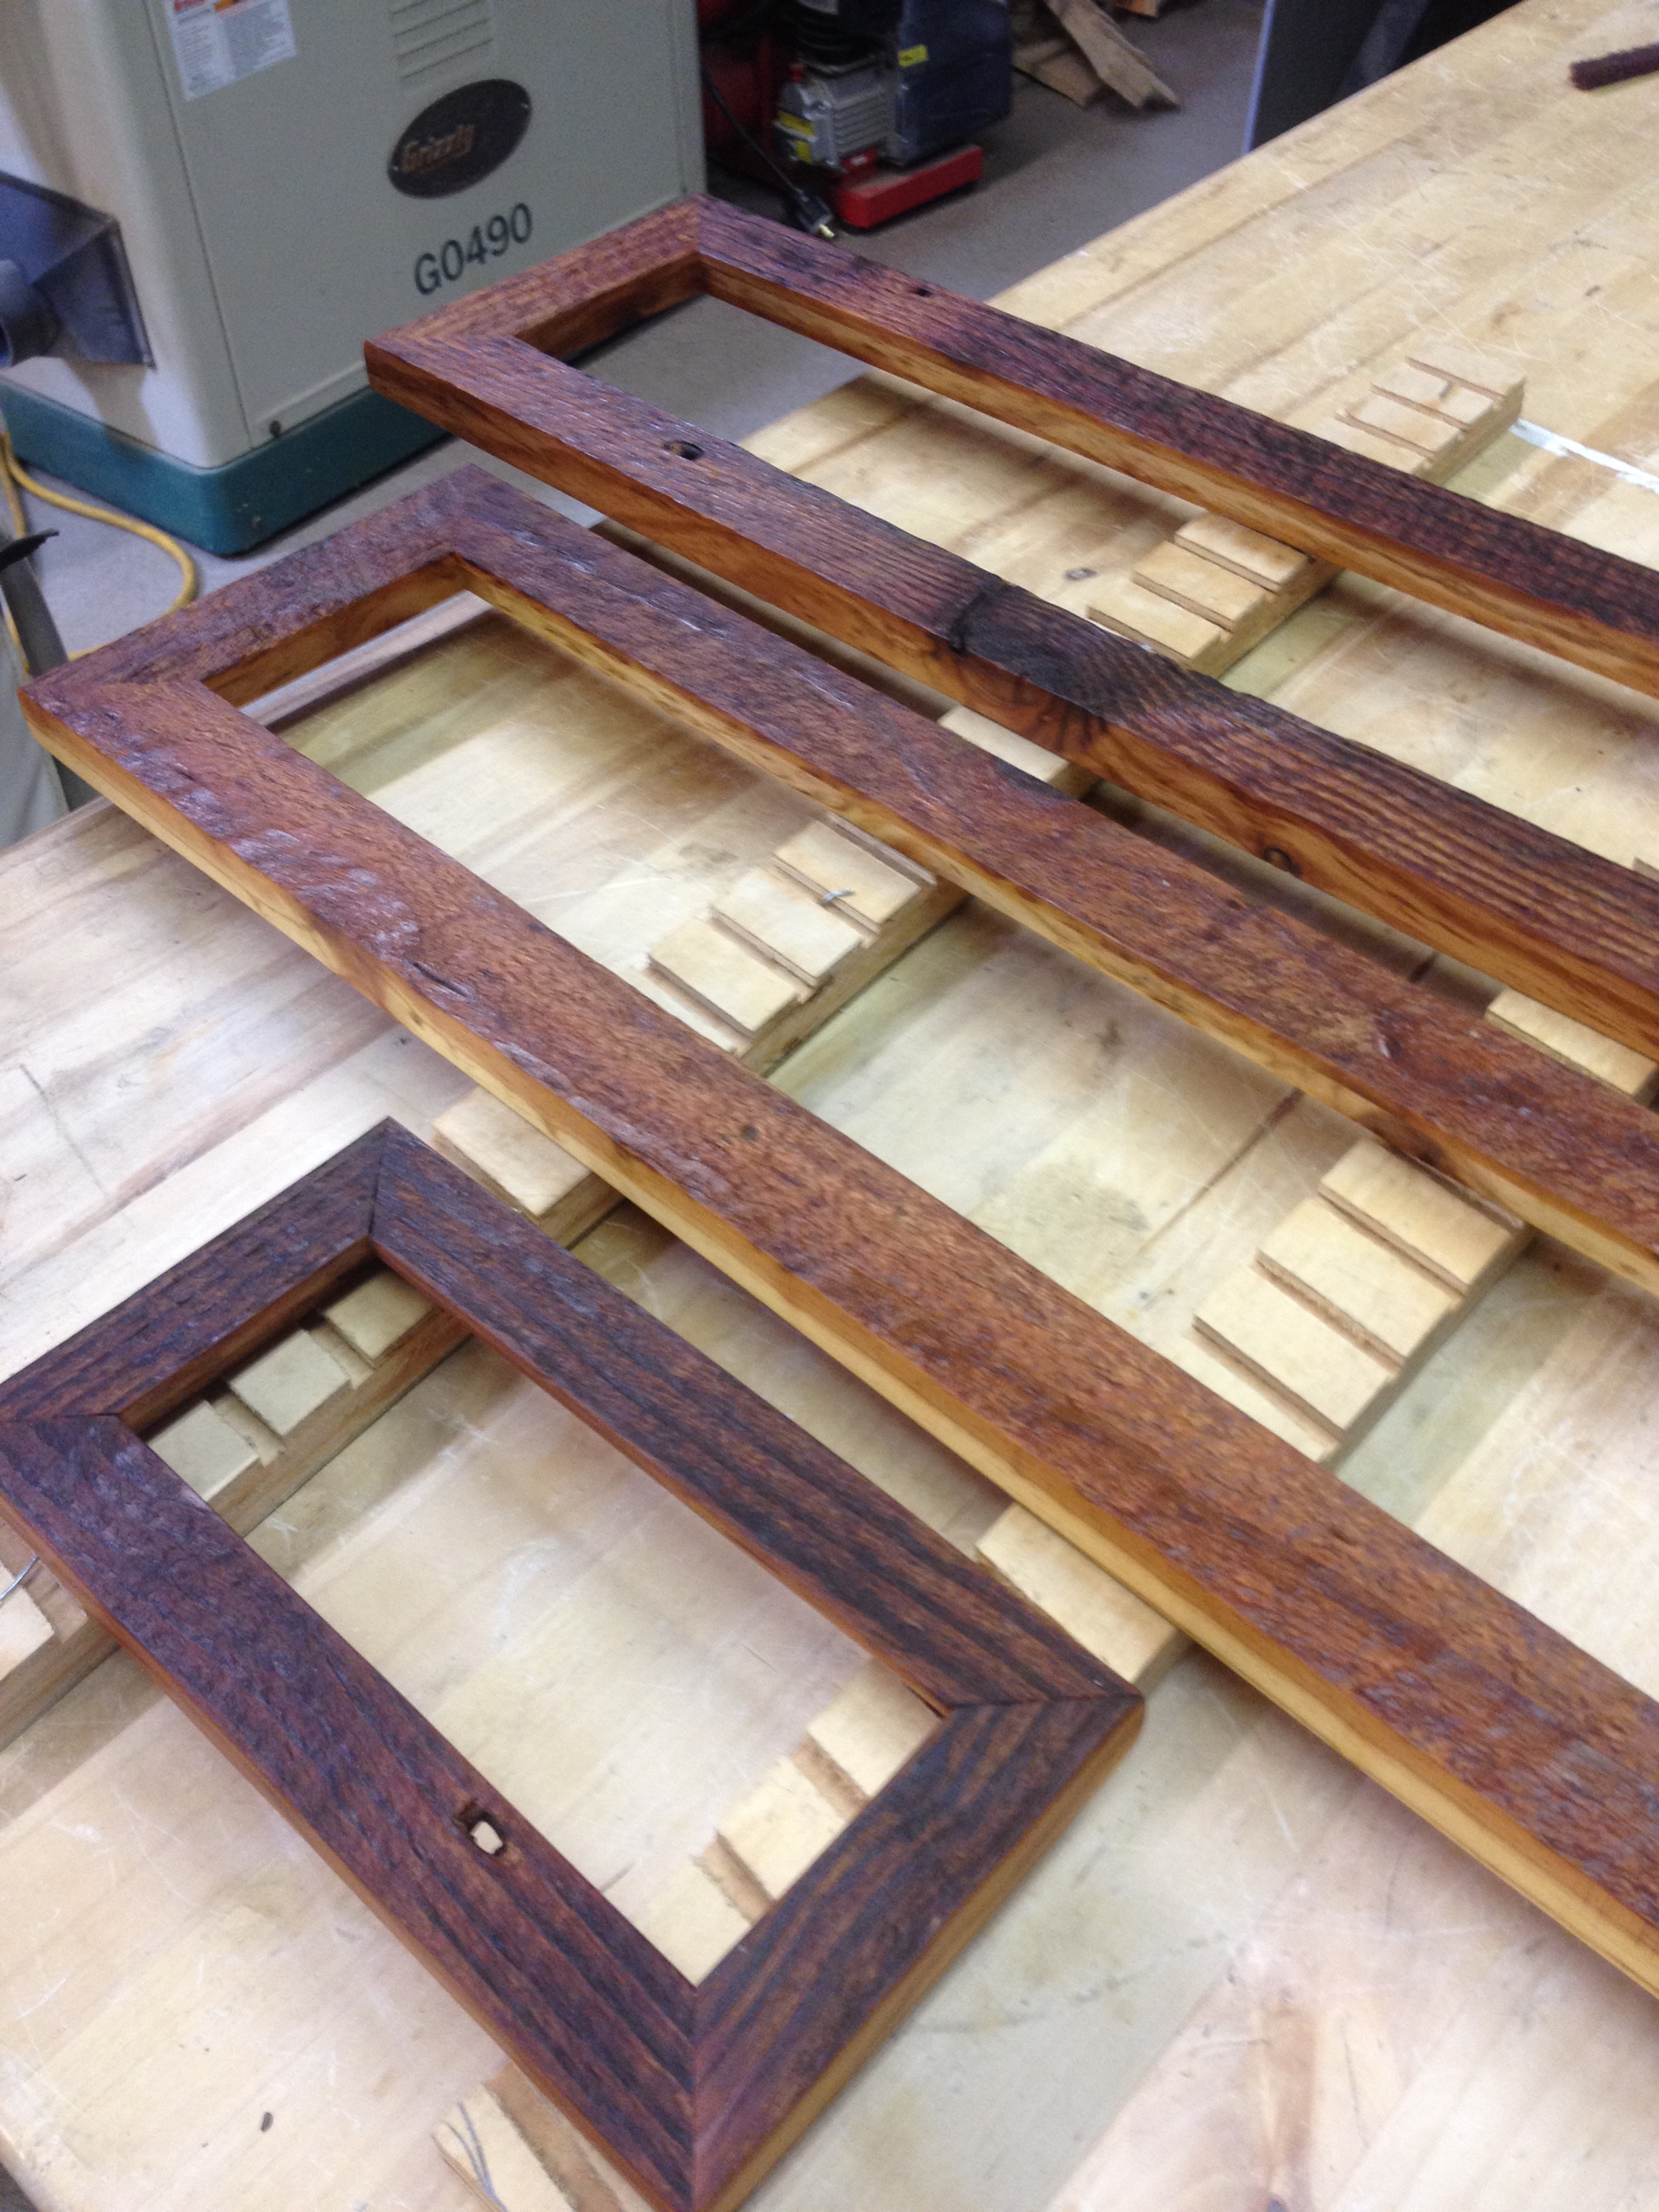
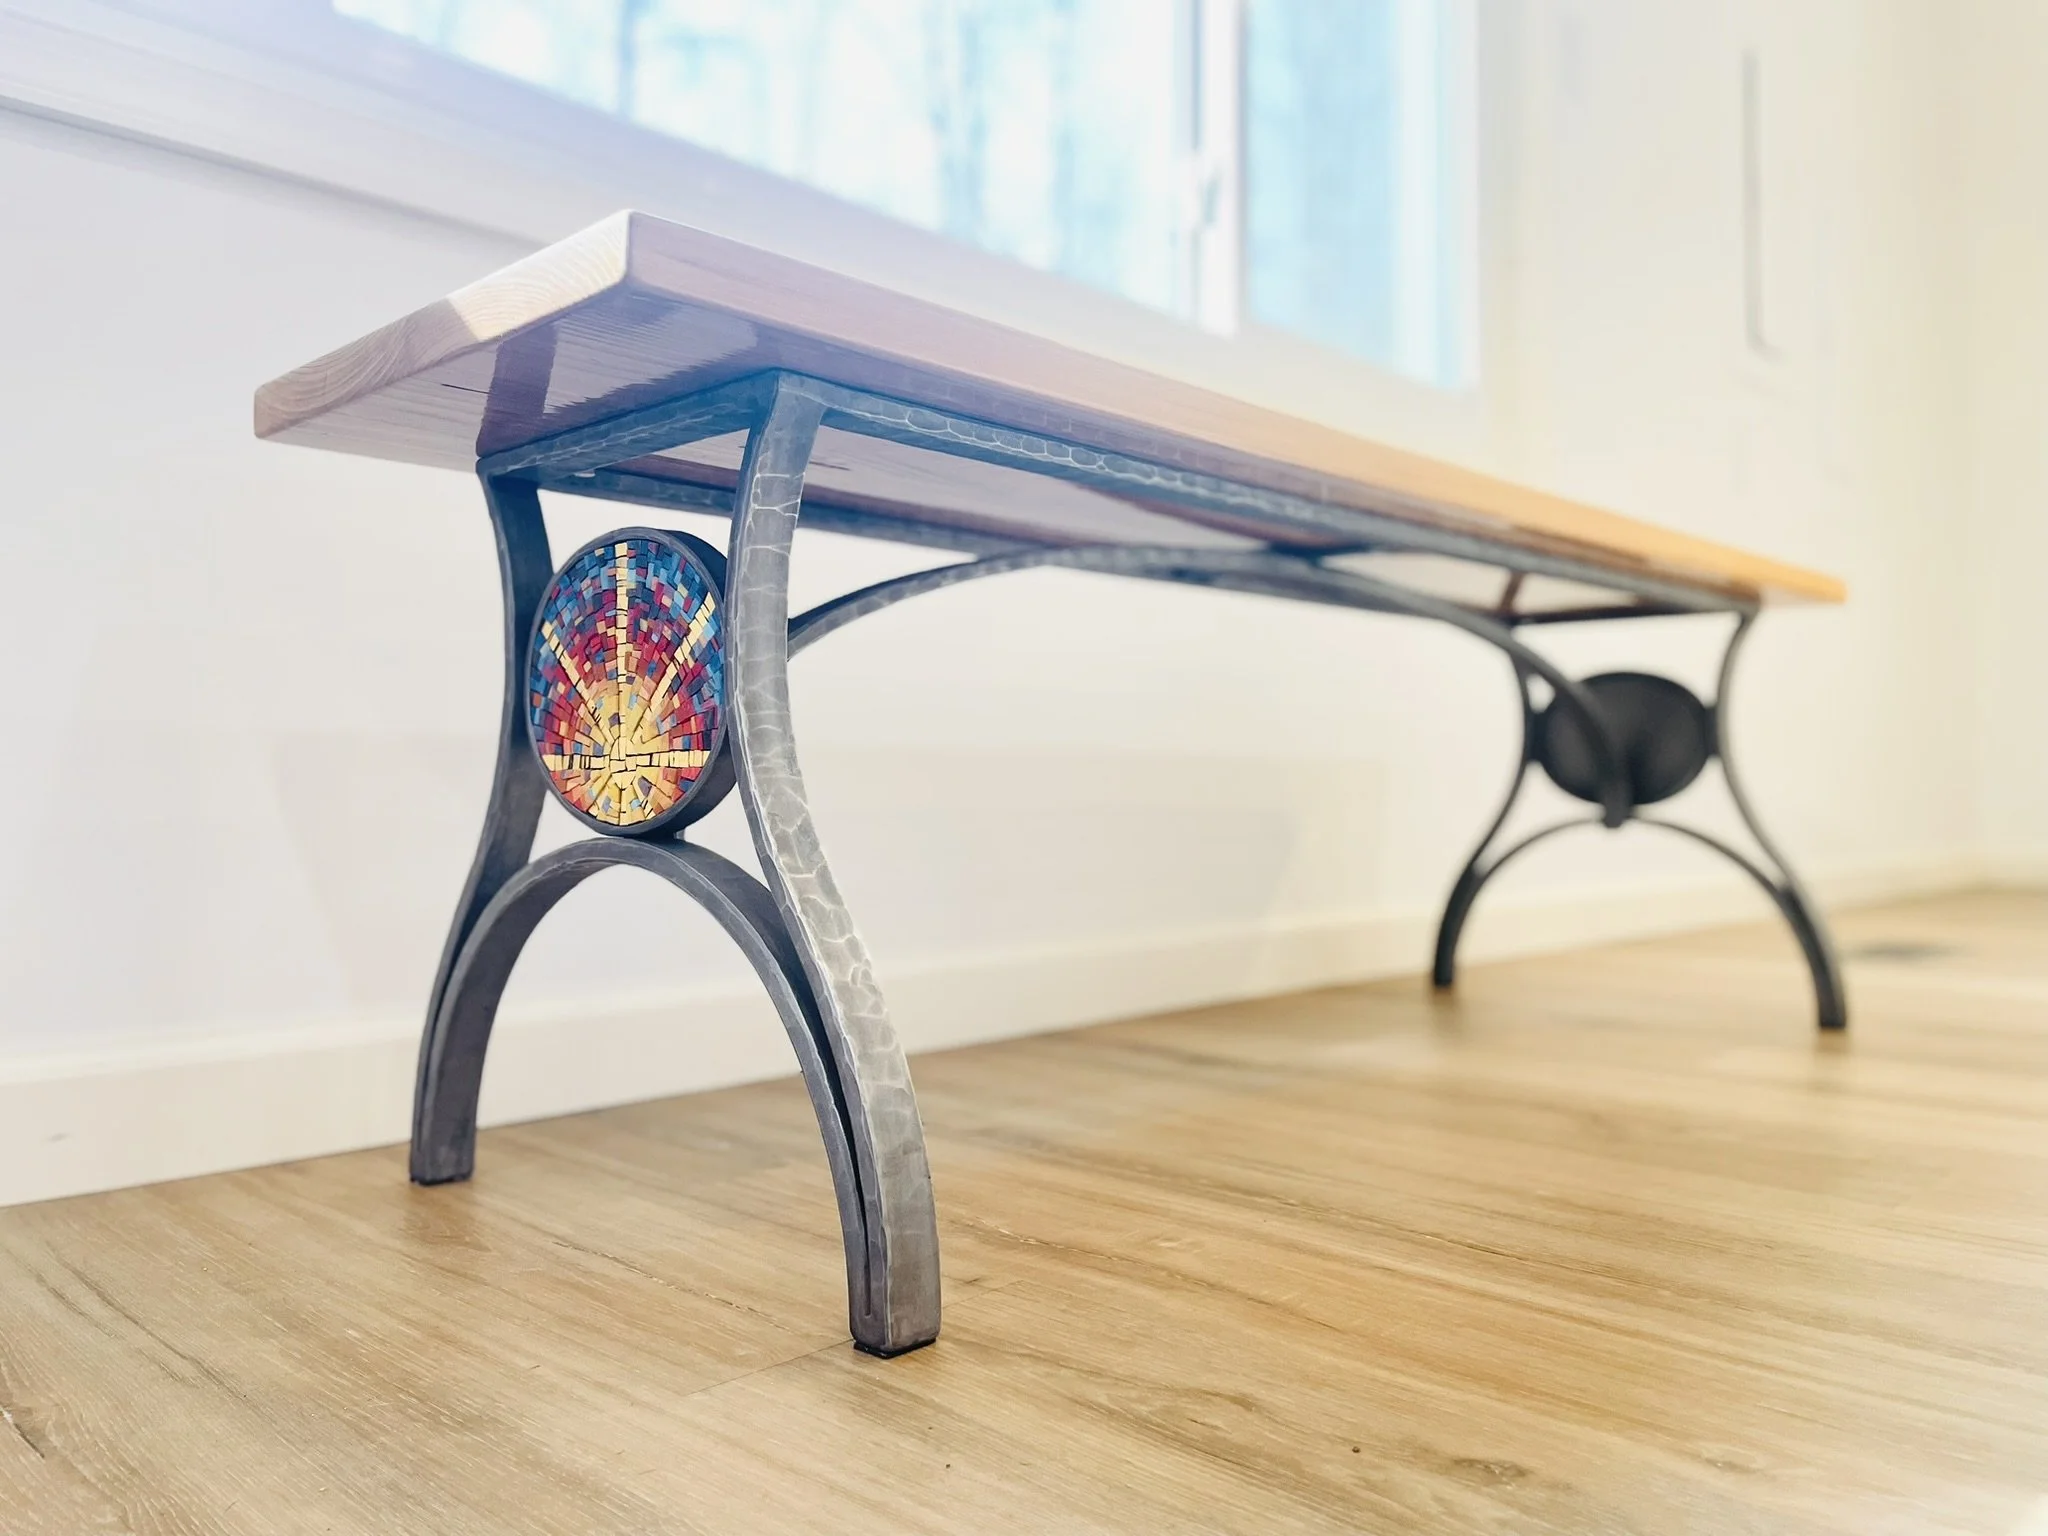
Kyle starts it off by creating molding from reclaimed wood. We use a few different varieties, with walnut and heart pine showing up most often. Kyle gives the frame an oil finish, creates a backer for the mosaic (also from reclaimed material), and passes it on to Johannah.
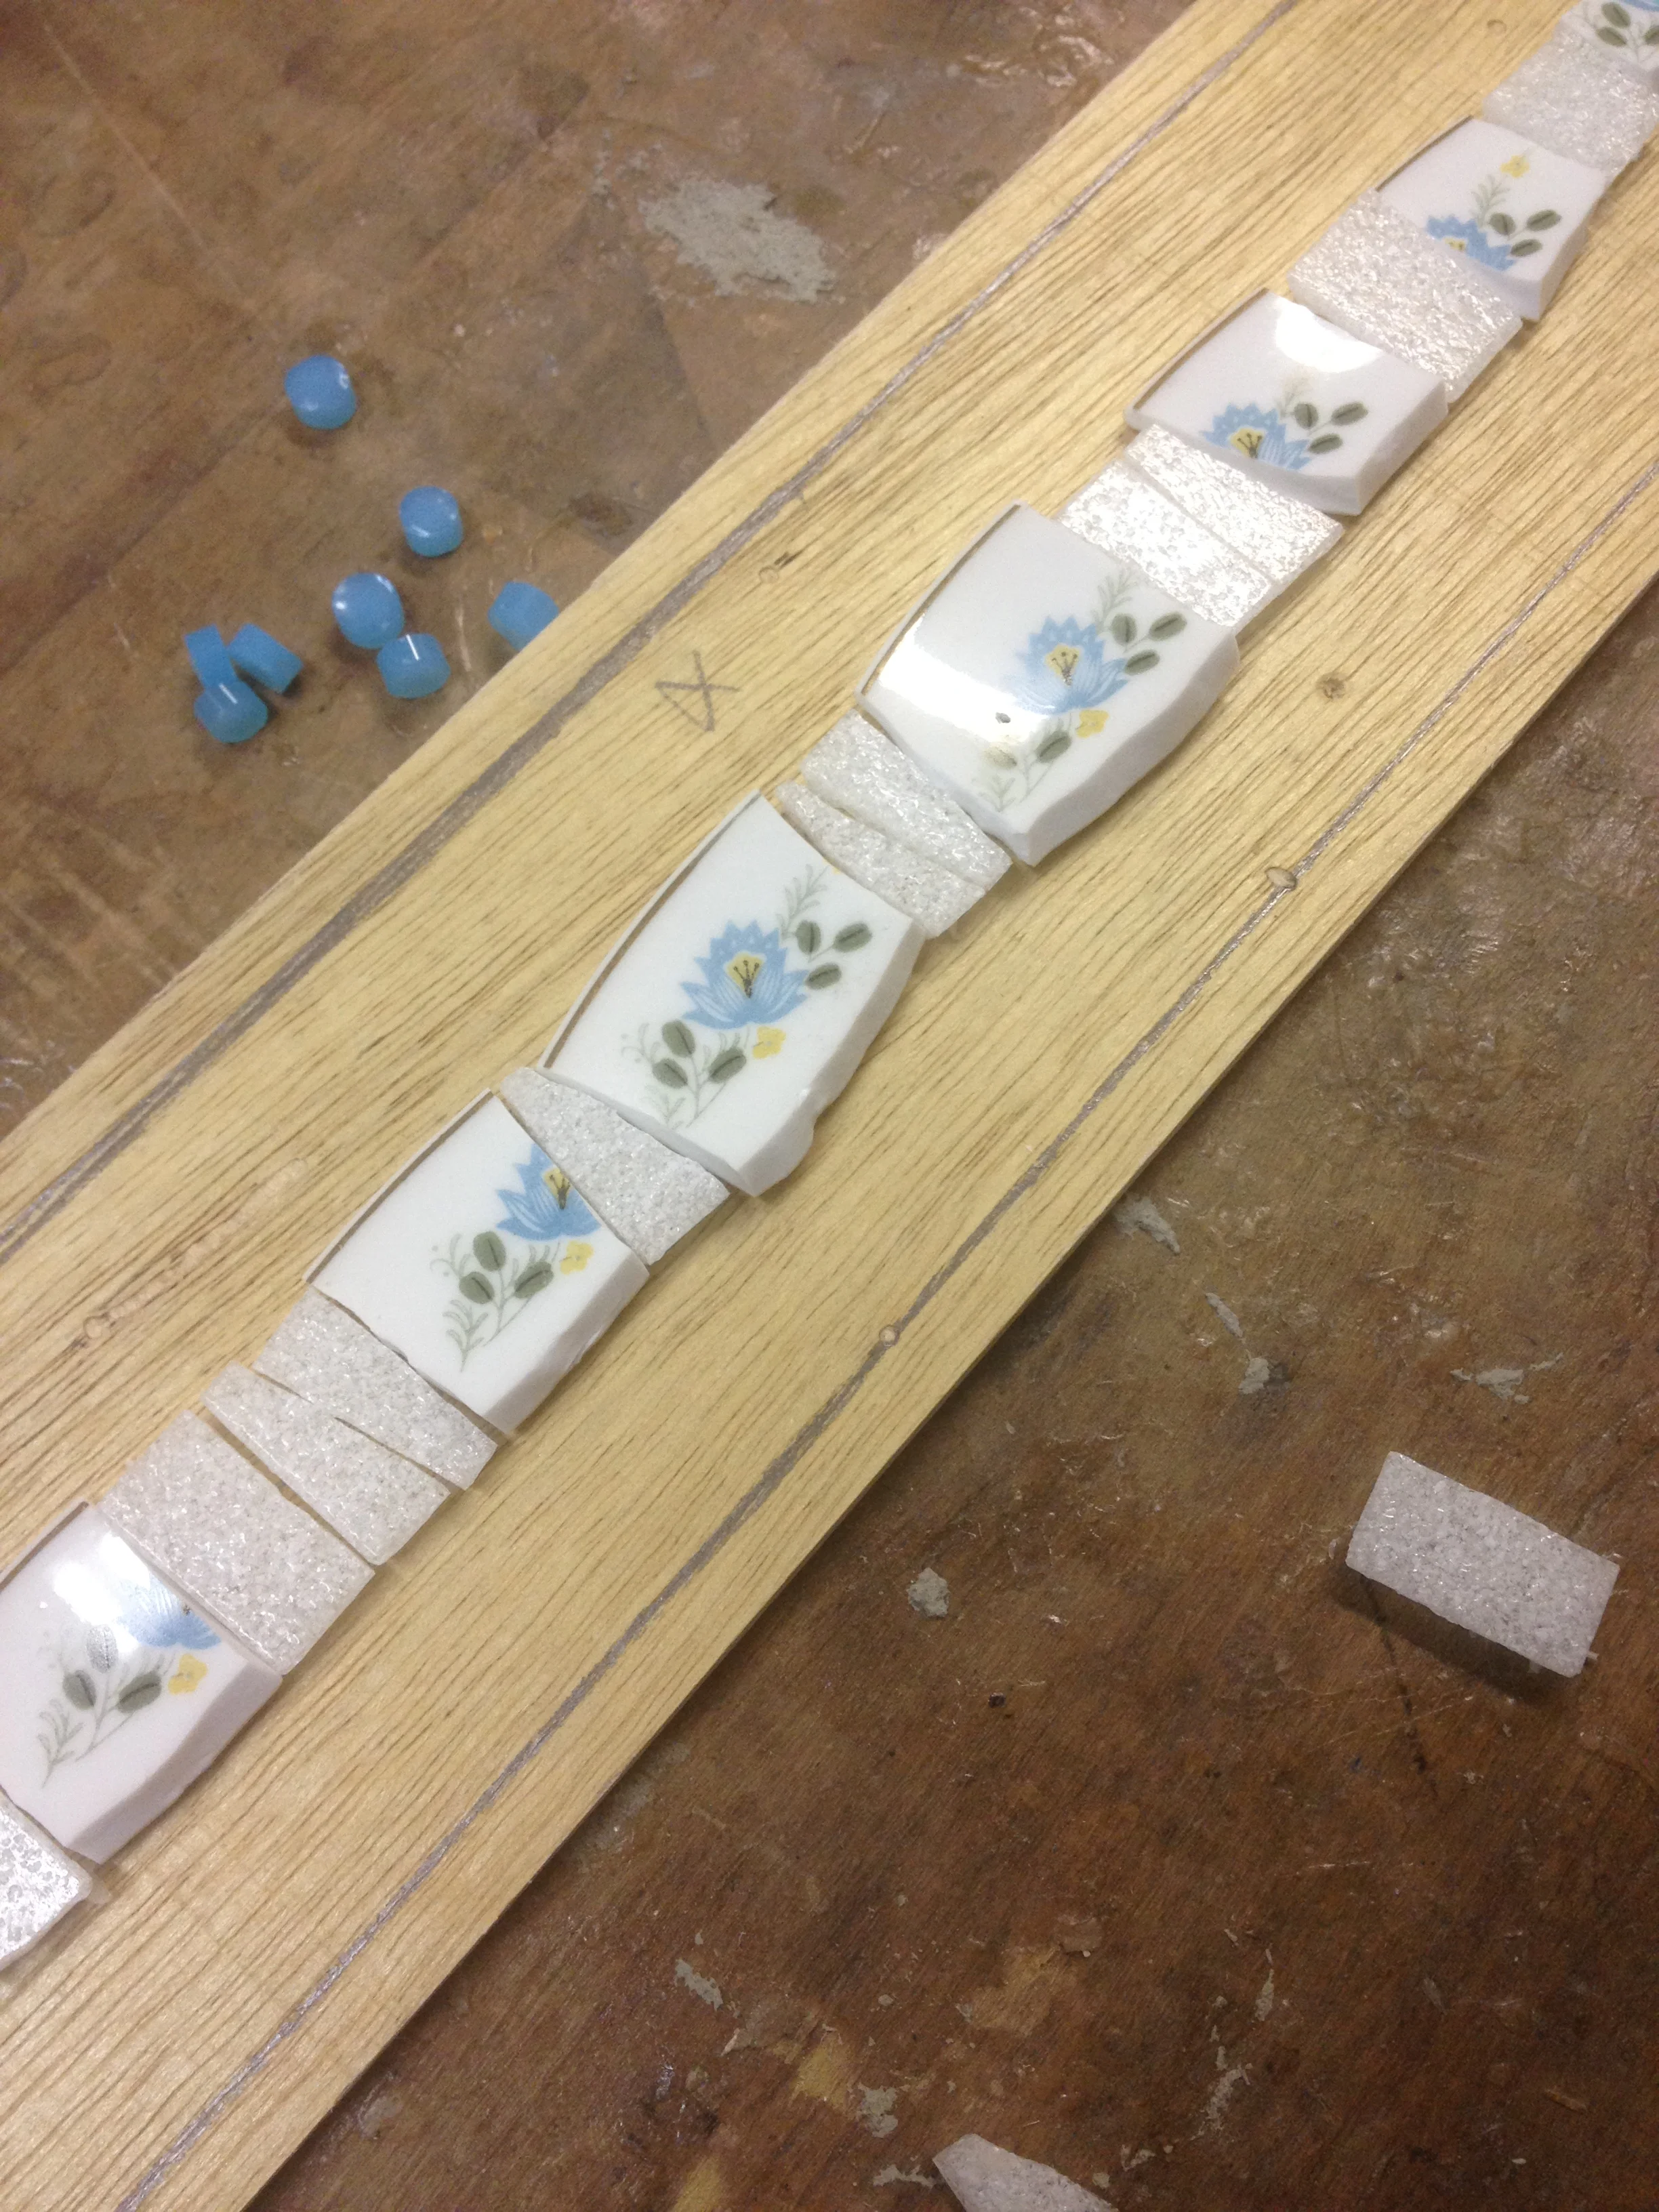
Johannah's first step is to seal the backer and mark the outline of the frame to make sure the mosaic stays within the frame boundaries.


Next it's time to select and sort the mosaic material. Johannah likes to combine new and reclaimed material in a way that highlights the reclaimed material.

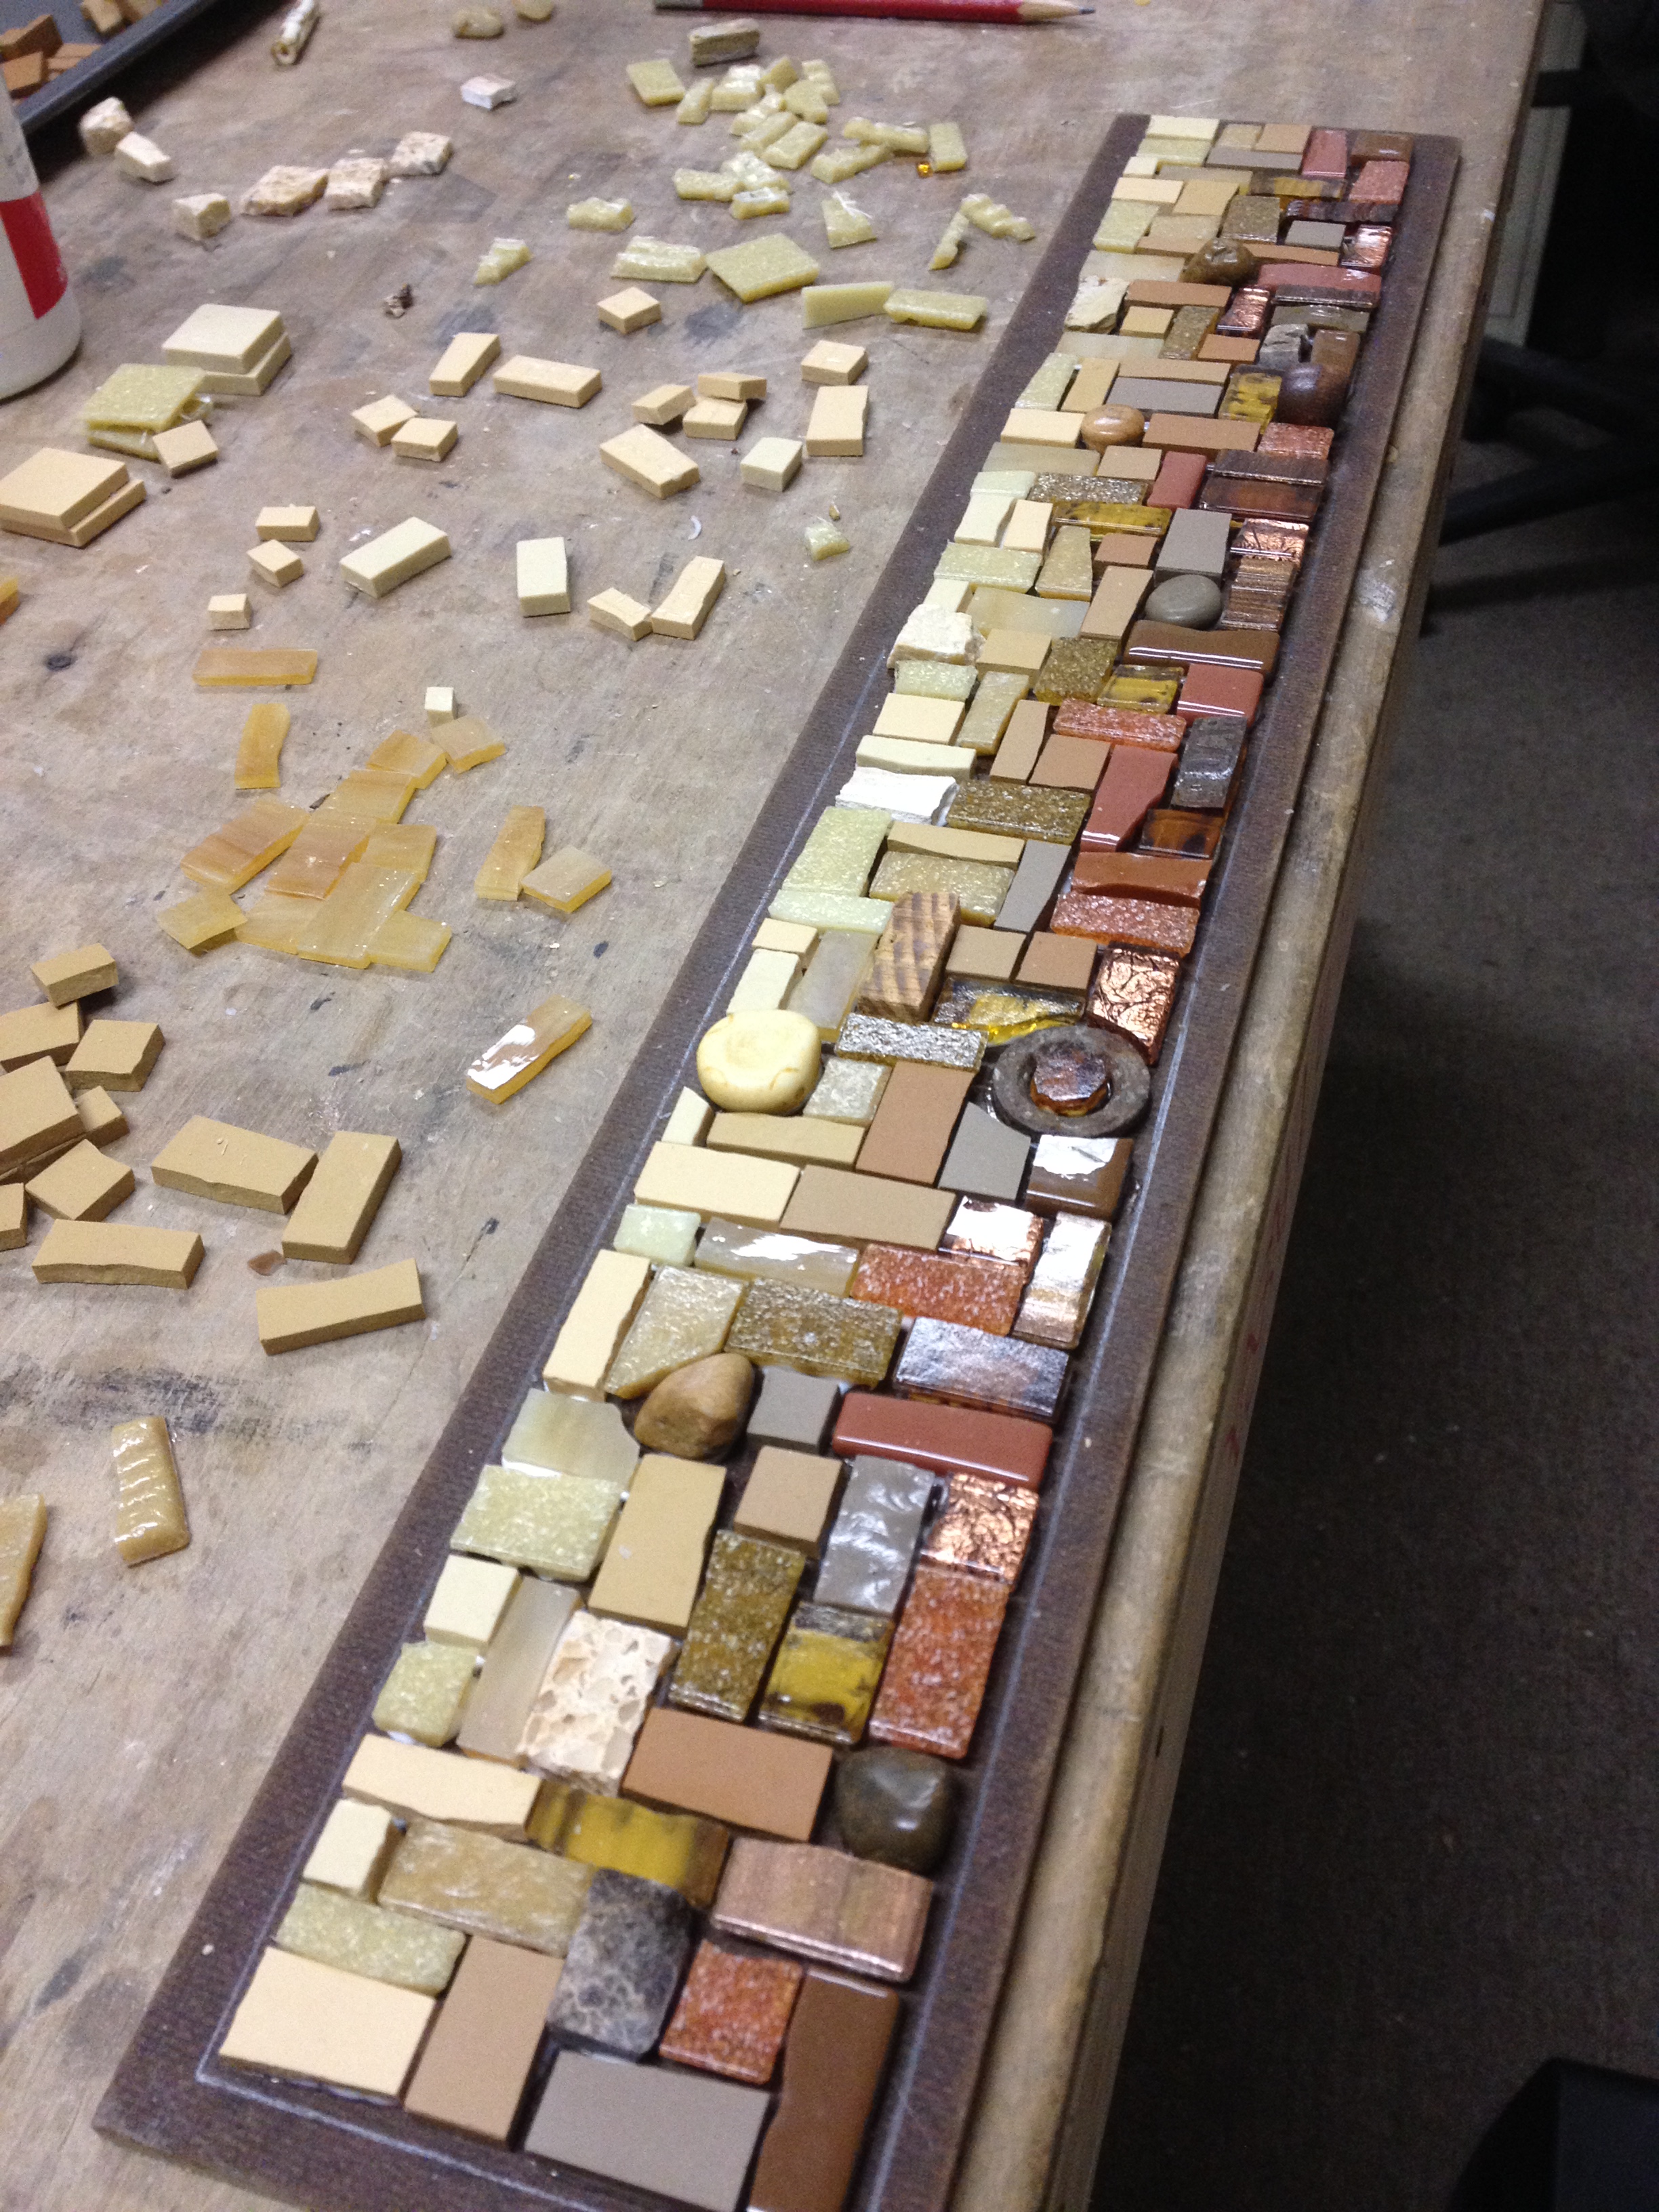
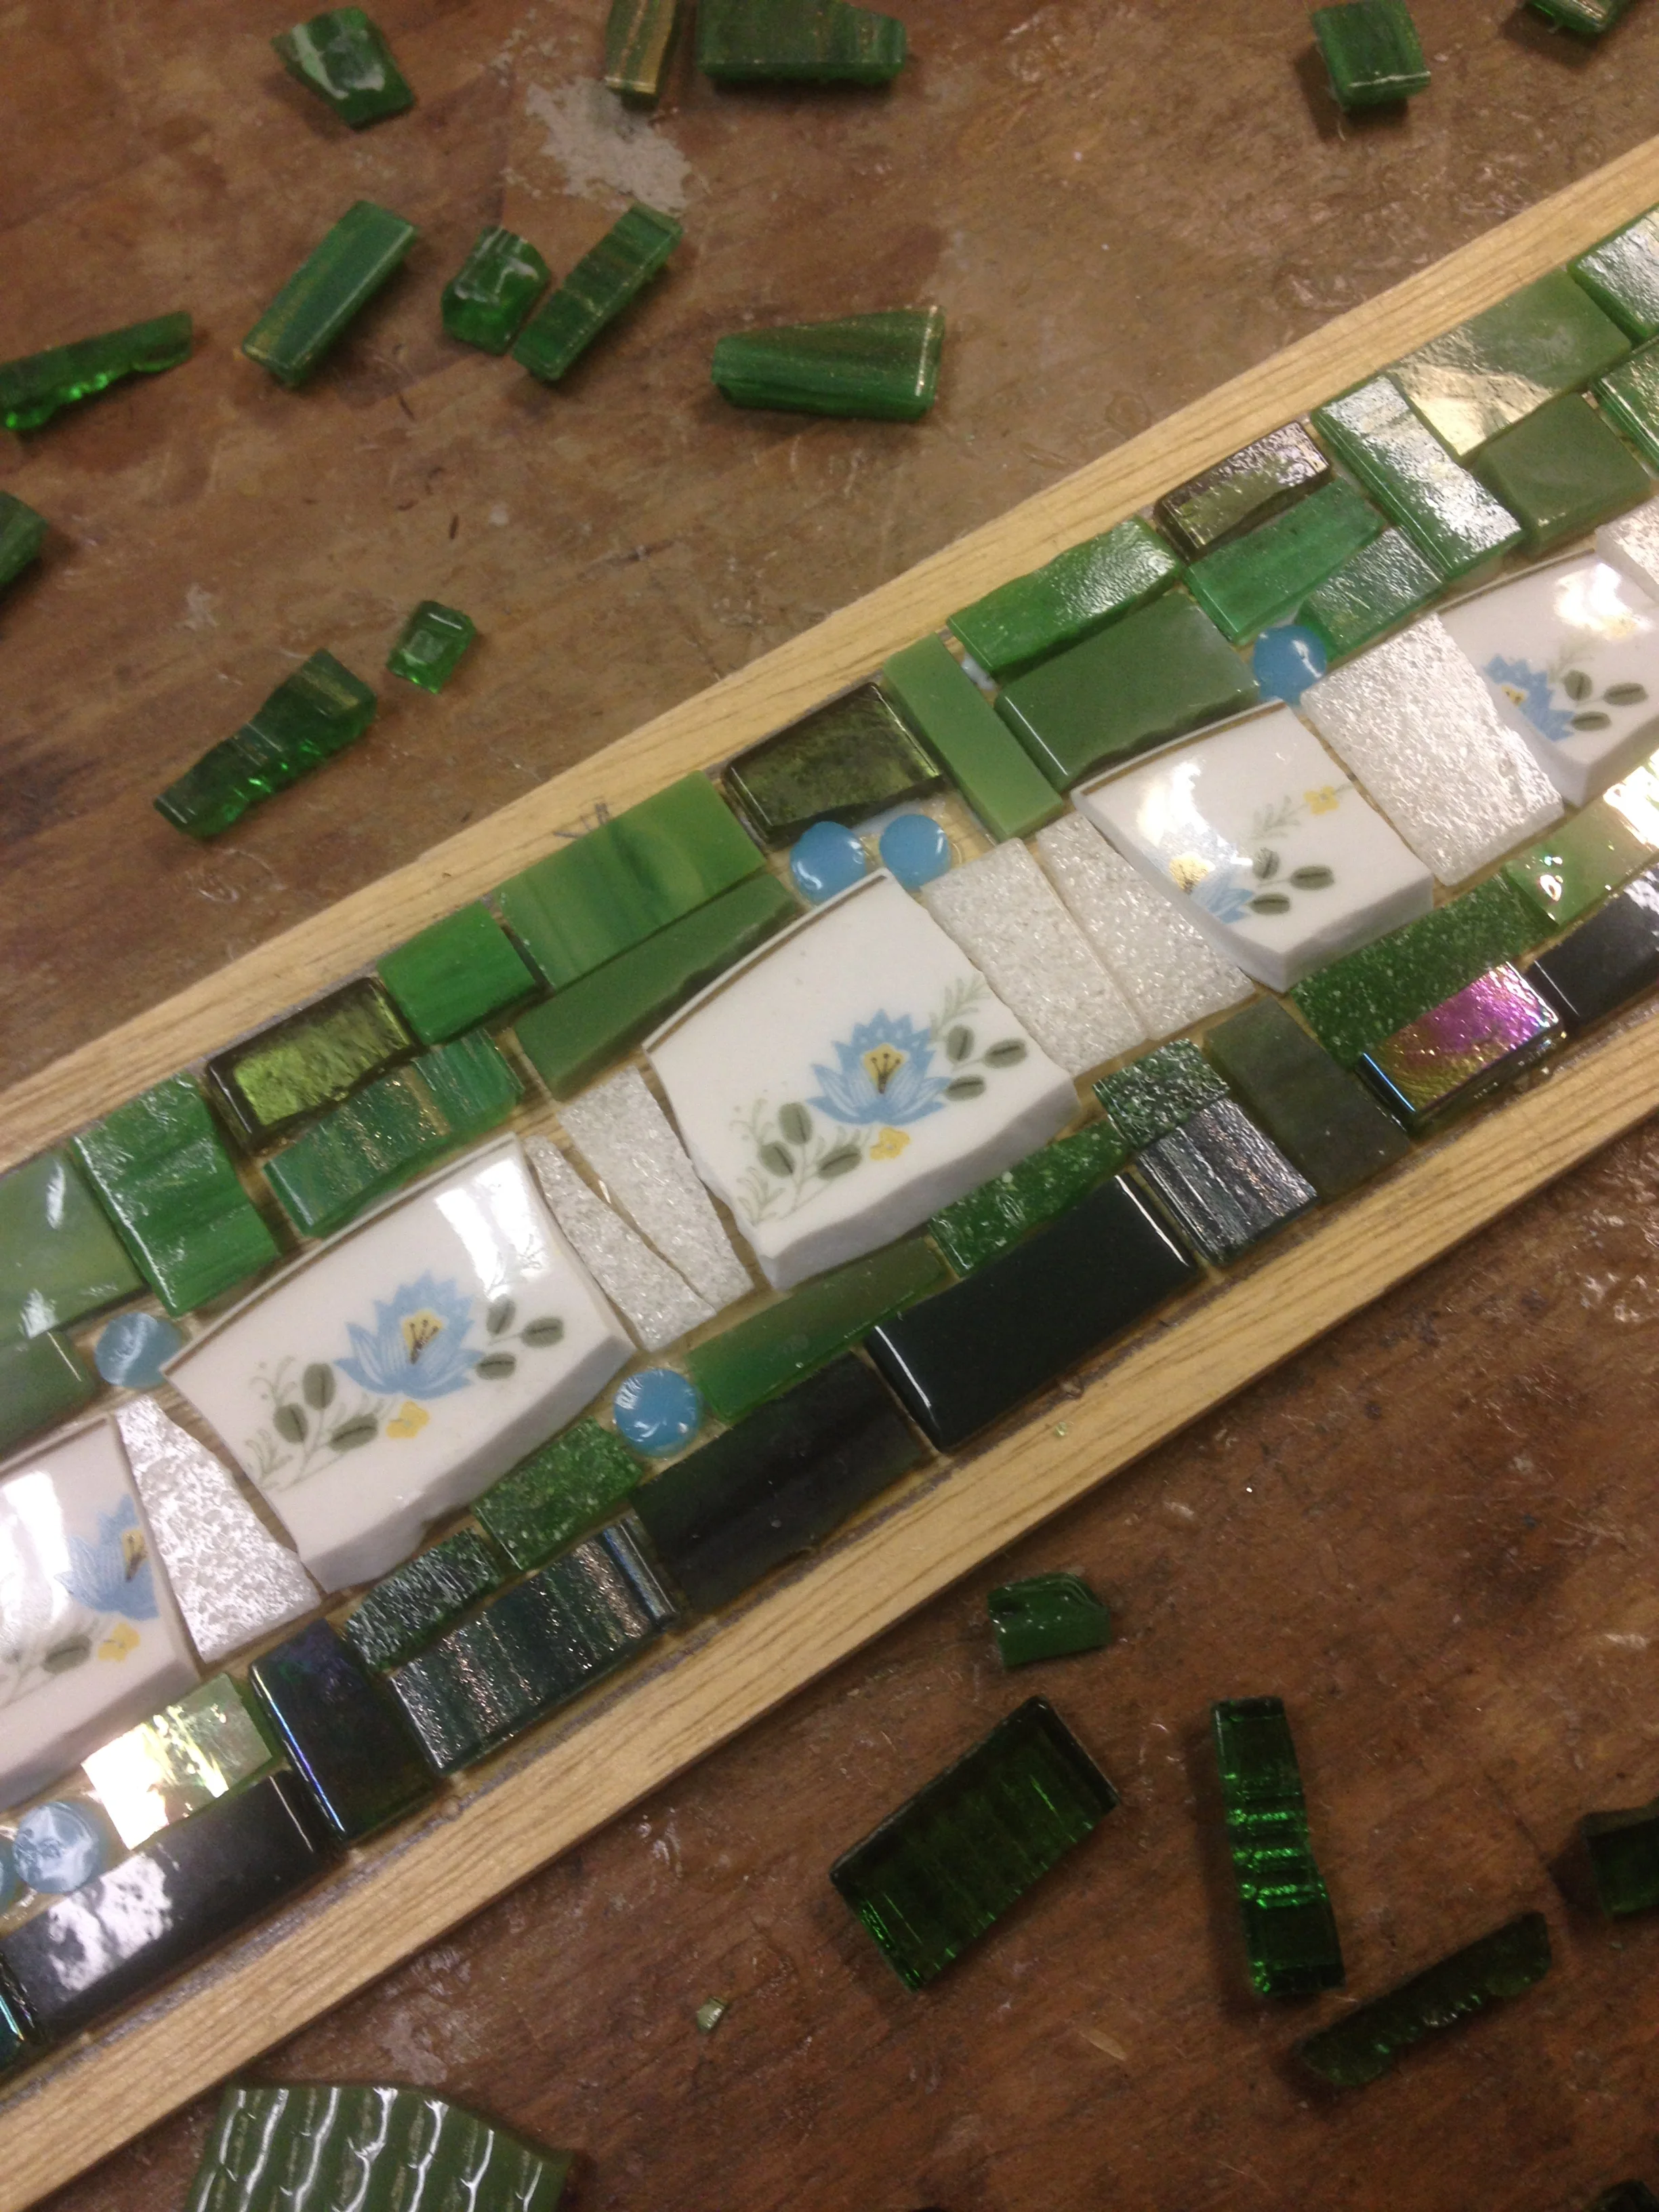

Once the material is sorted, we finally get to the mosaic!


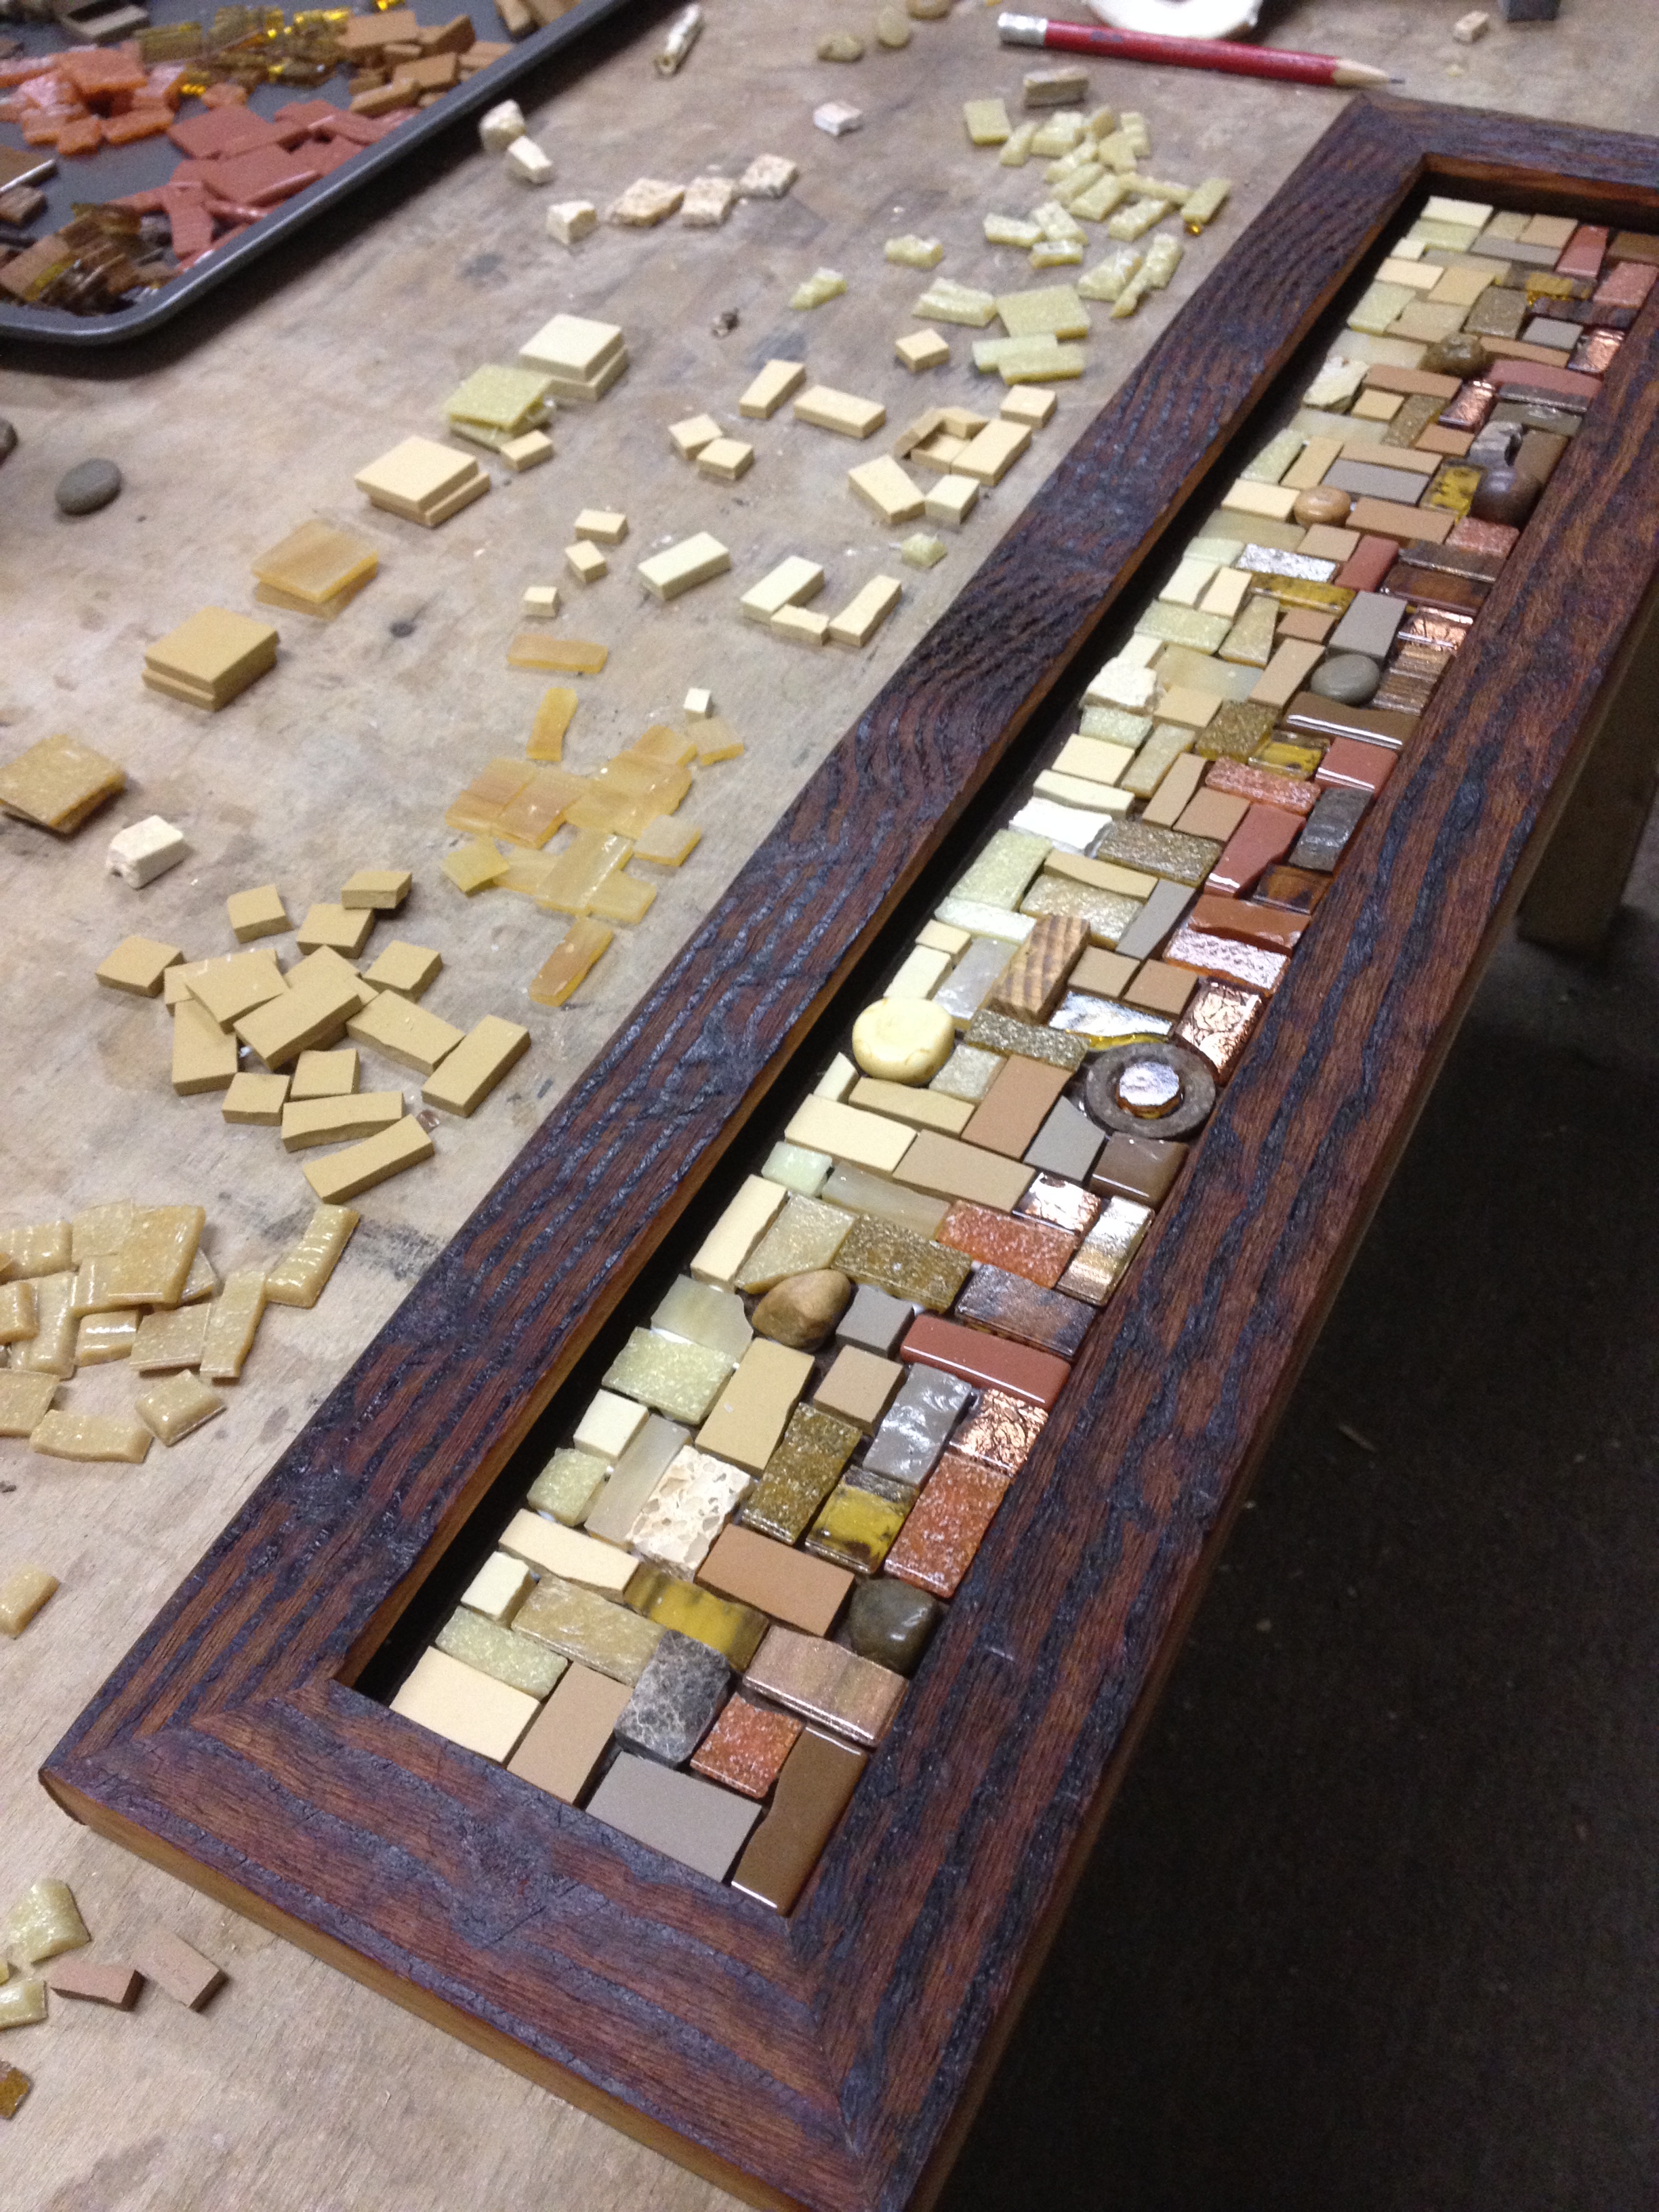
After the mosaic has had at least a day to dry, we glue it into the frame.


Once it's glued in the frame, Johannah grouts the mosaic. After the grout is dry, it goes back to Kyle to install his hand-forged hooks, then we stamp the back with the Phoenix Handcraft logo and Johannah signs and dates each piece. Kyle attaches hanging hardware, and at long last, it's ready to go!