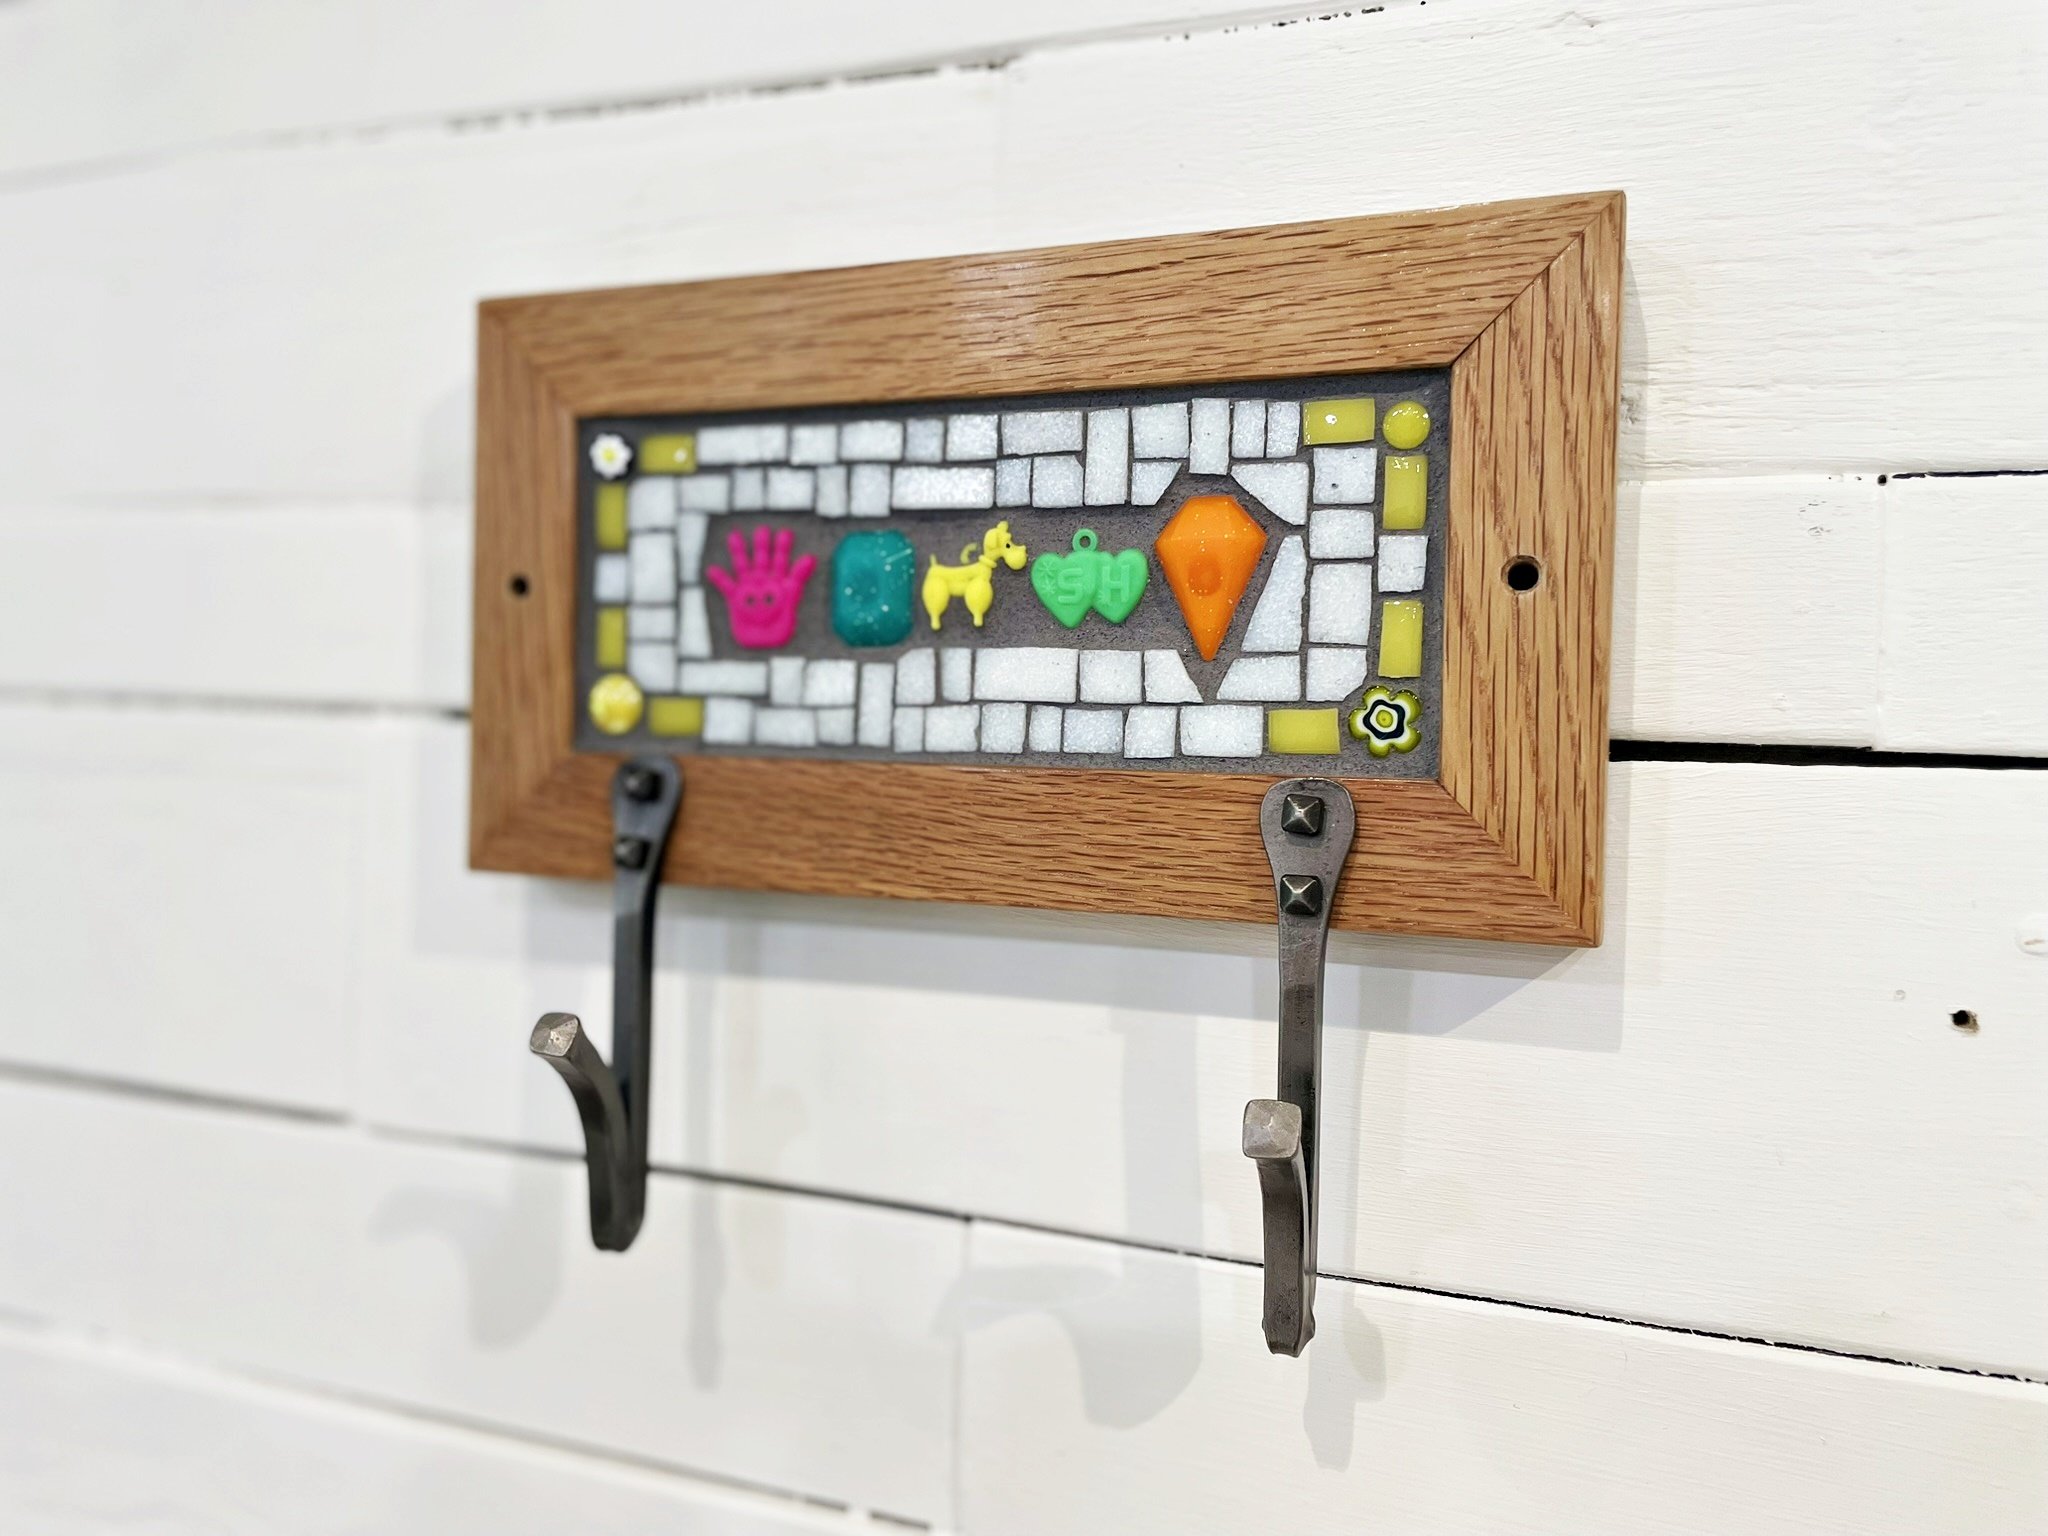
The boss of mosaic coat racks

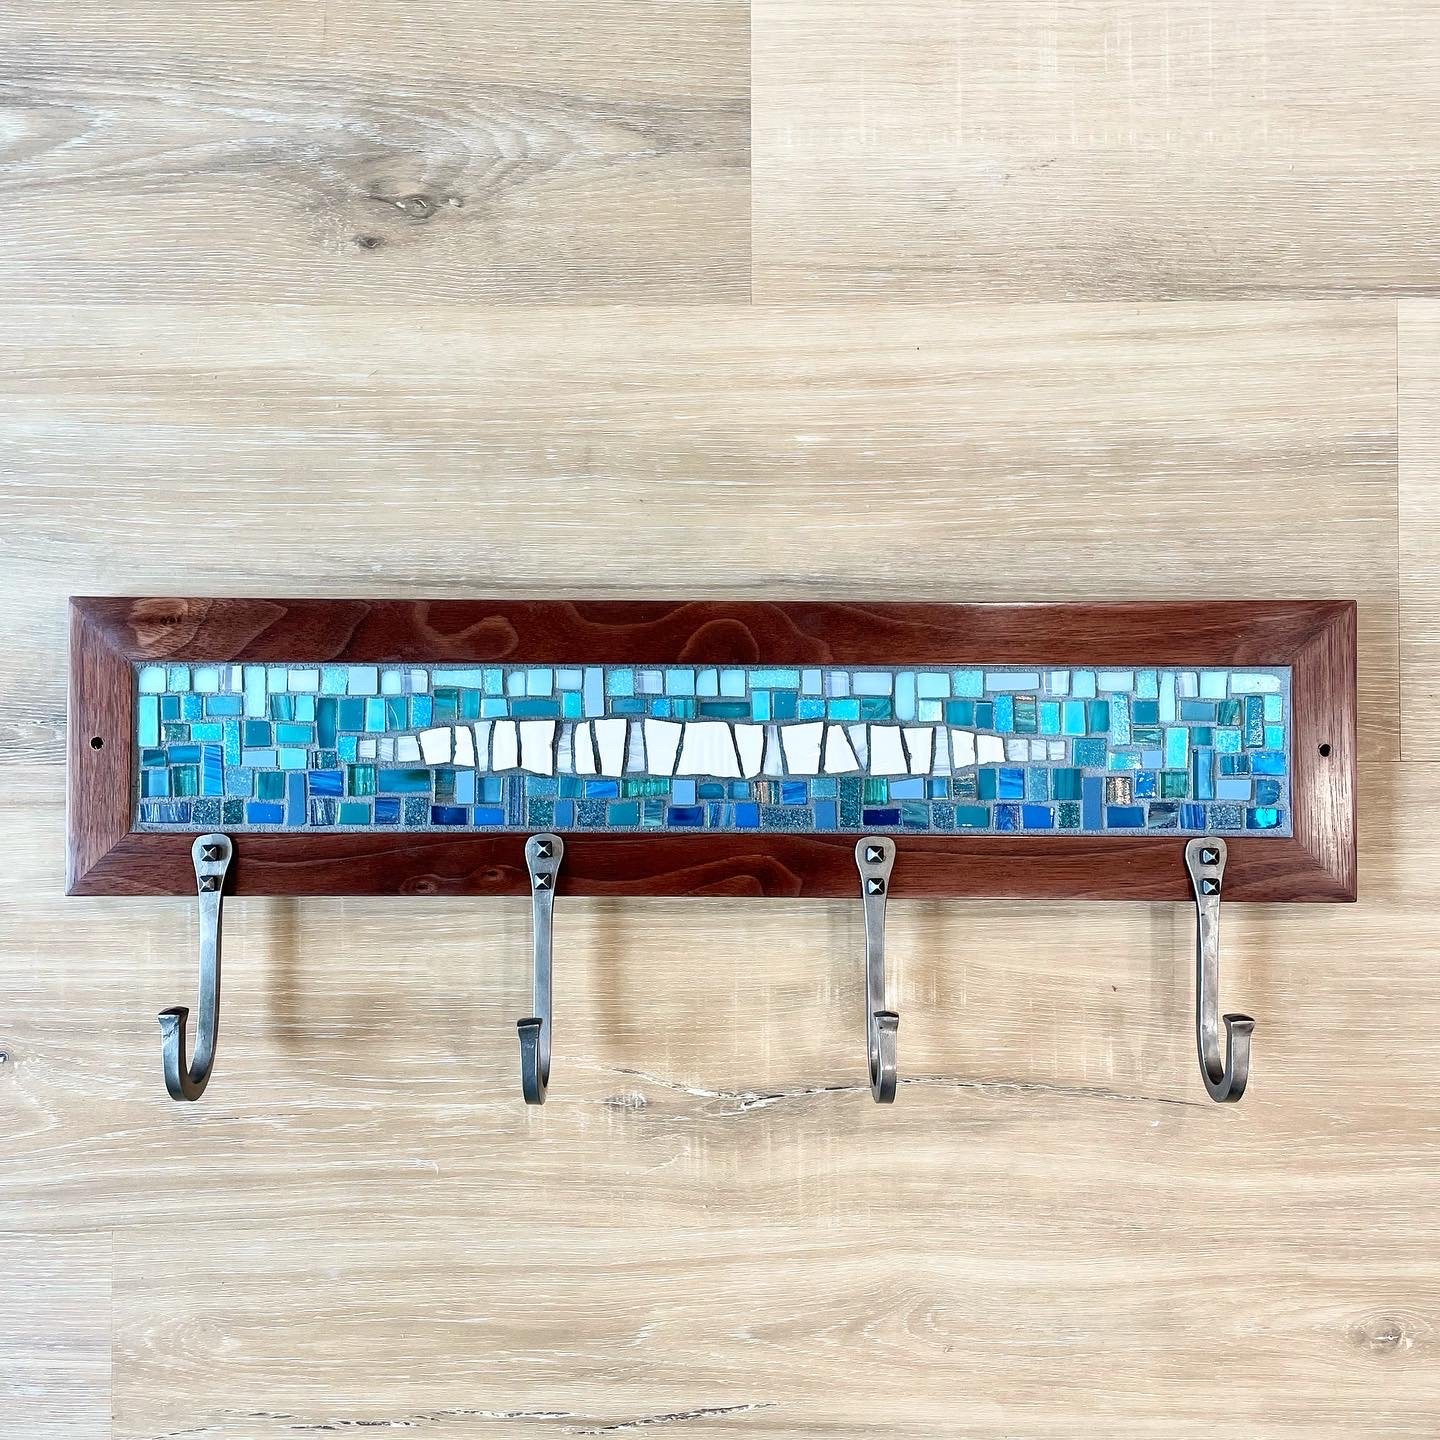
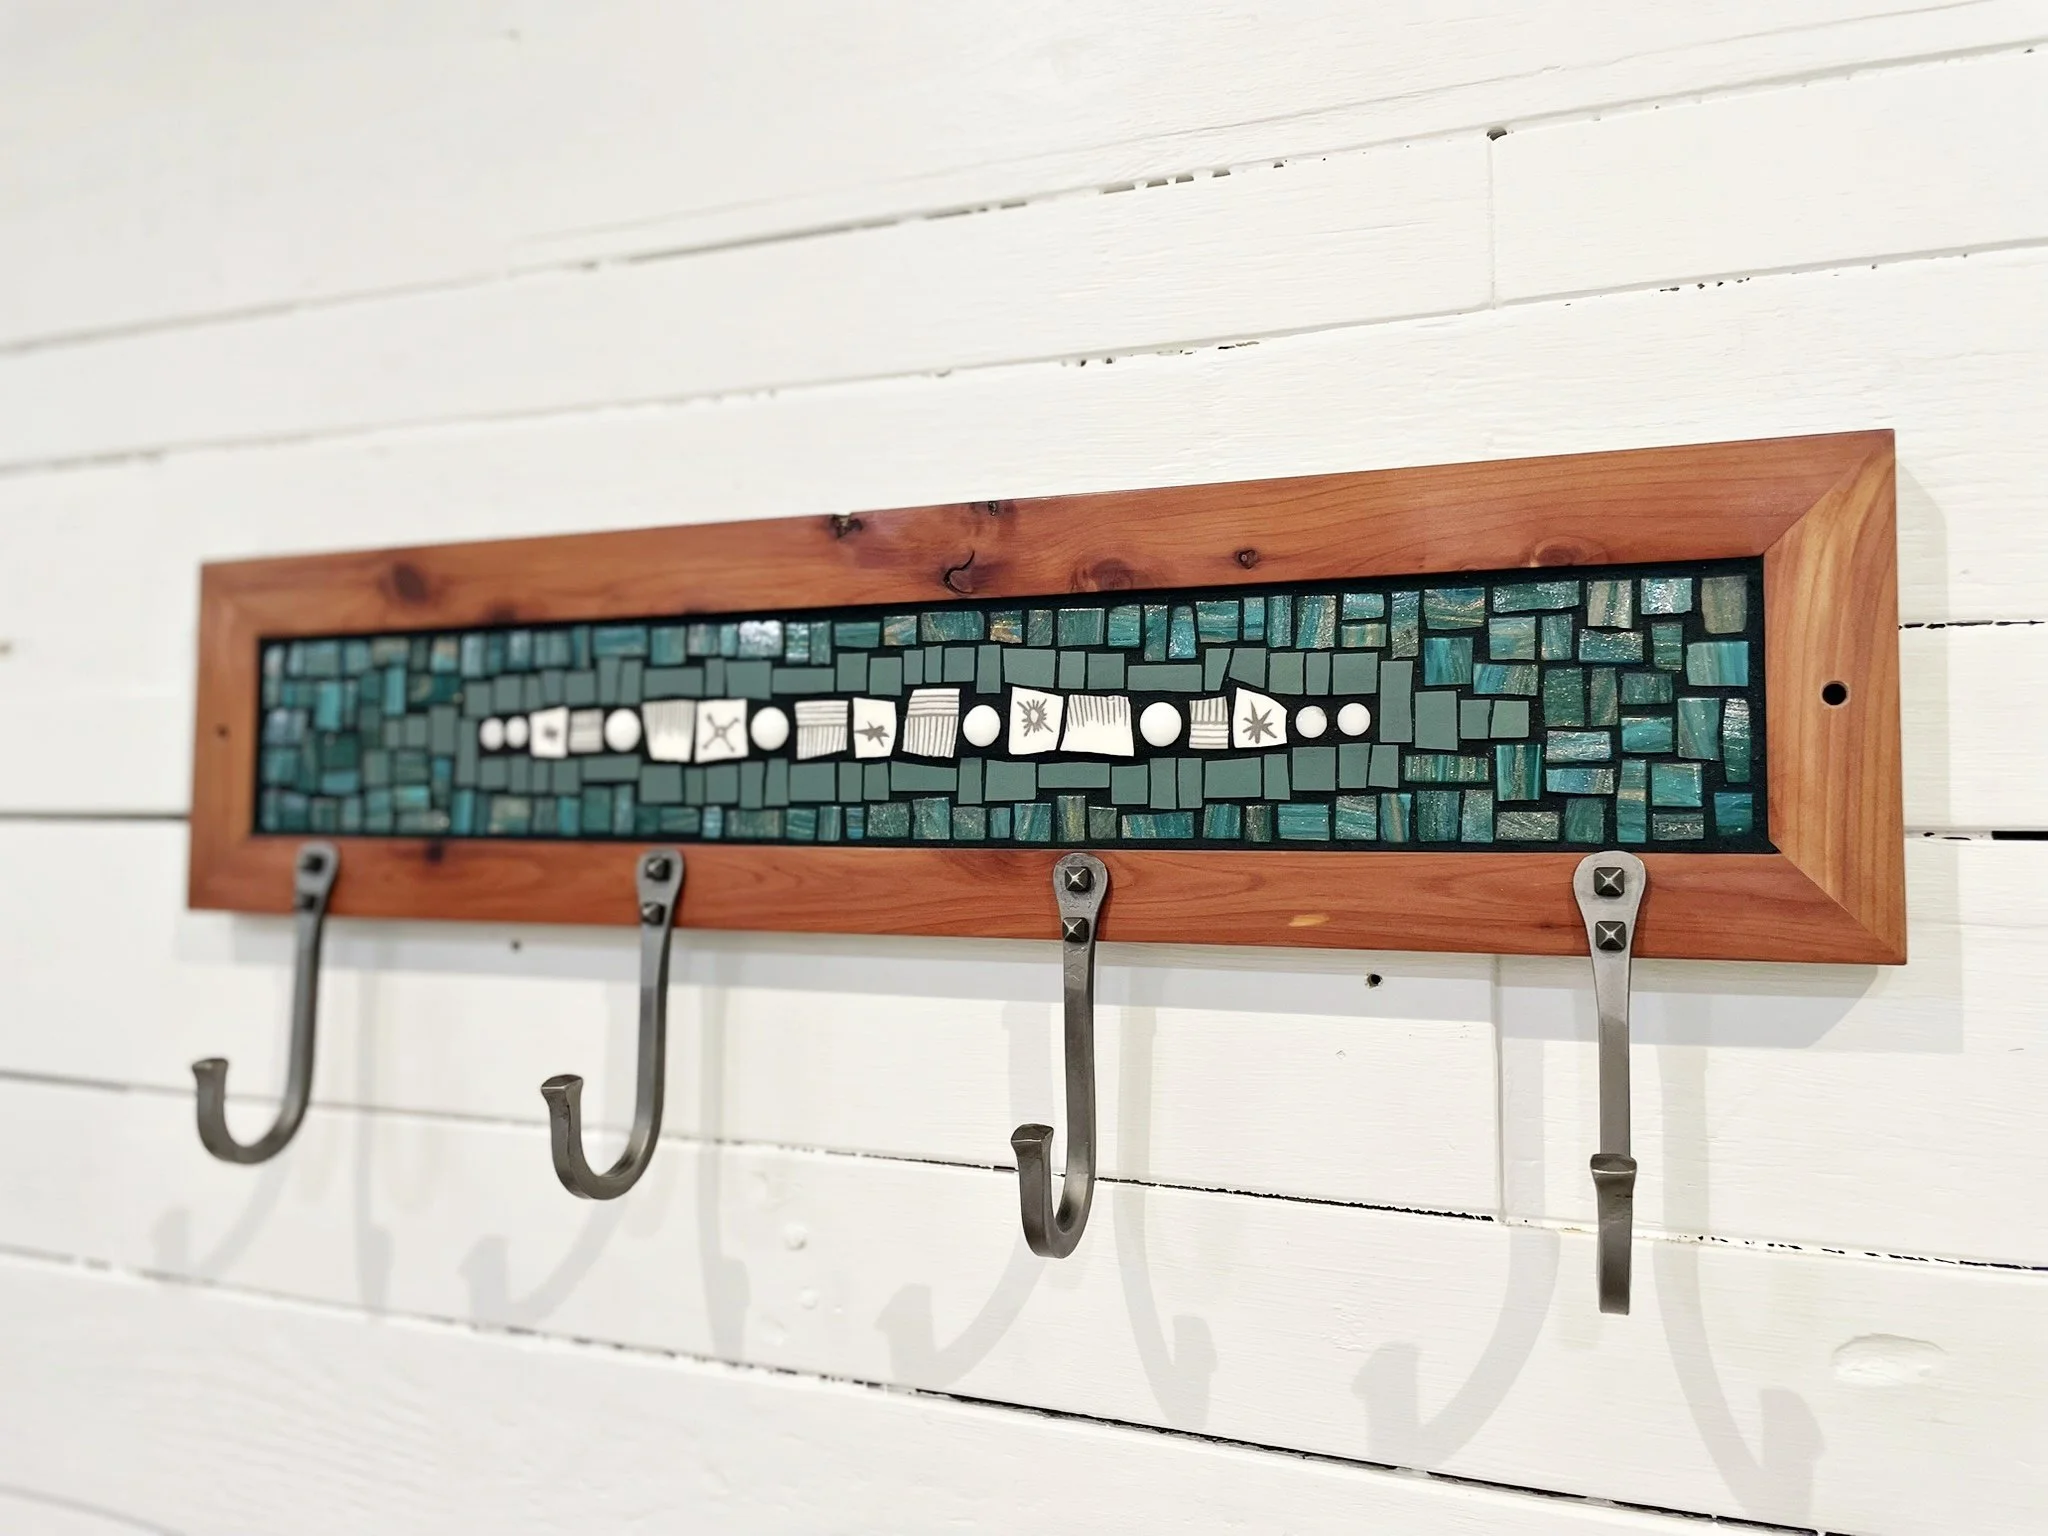
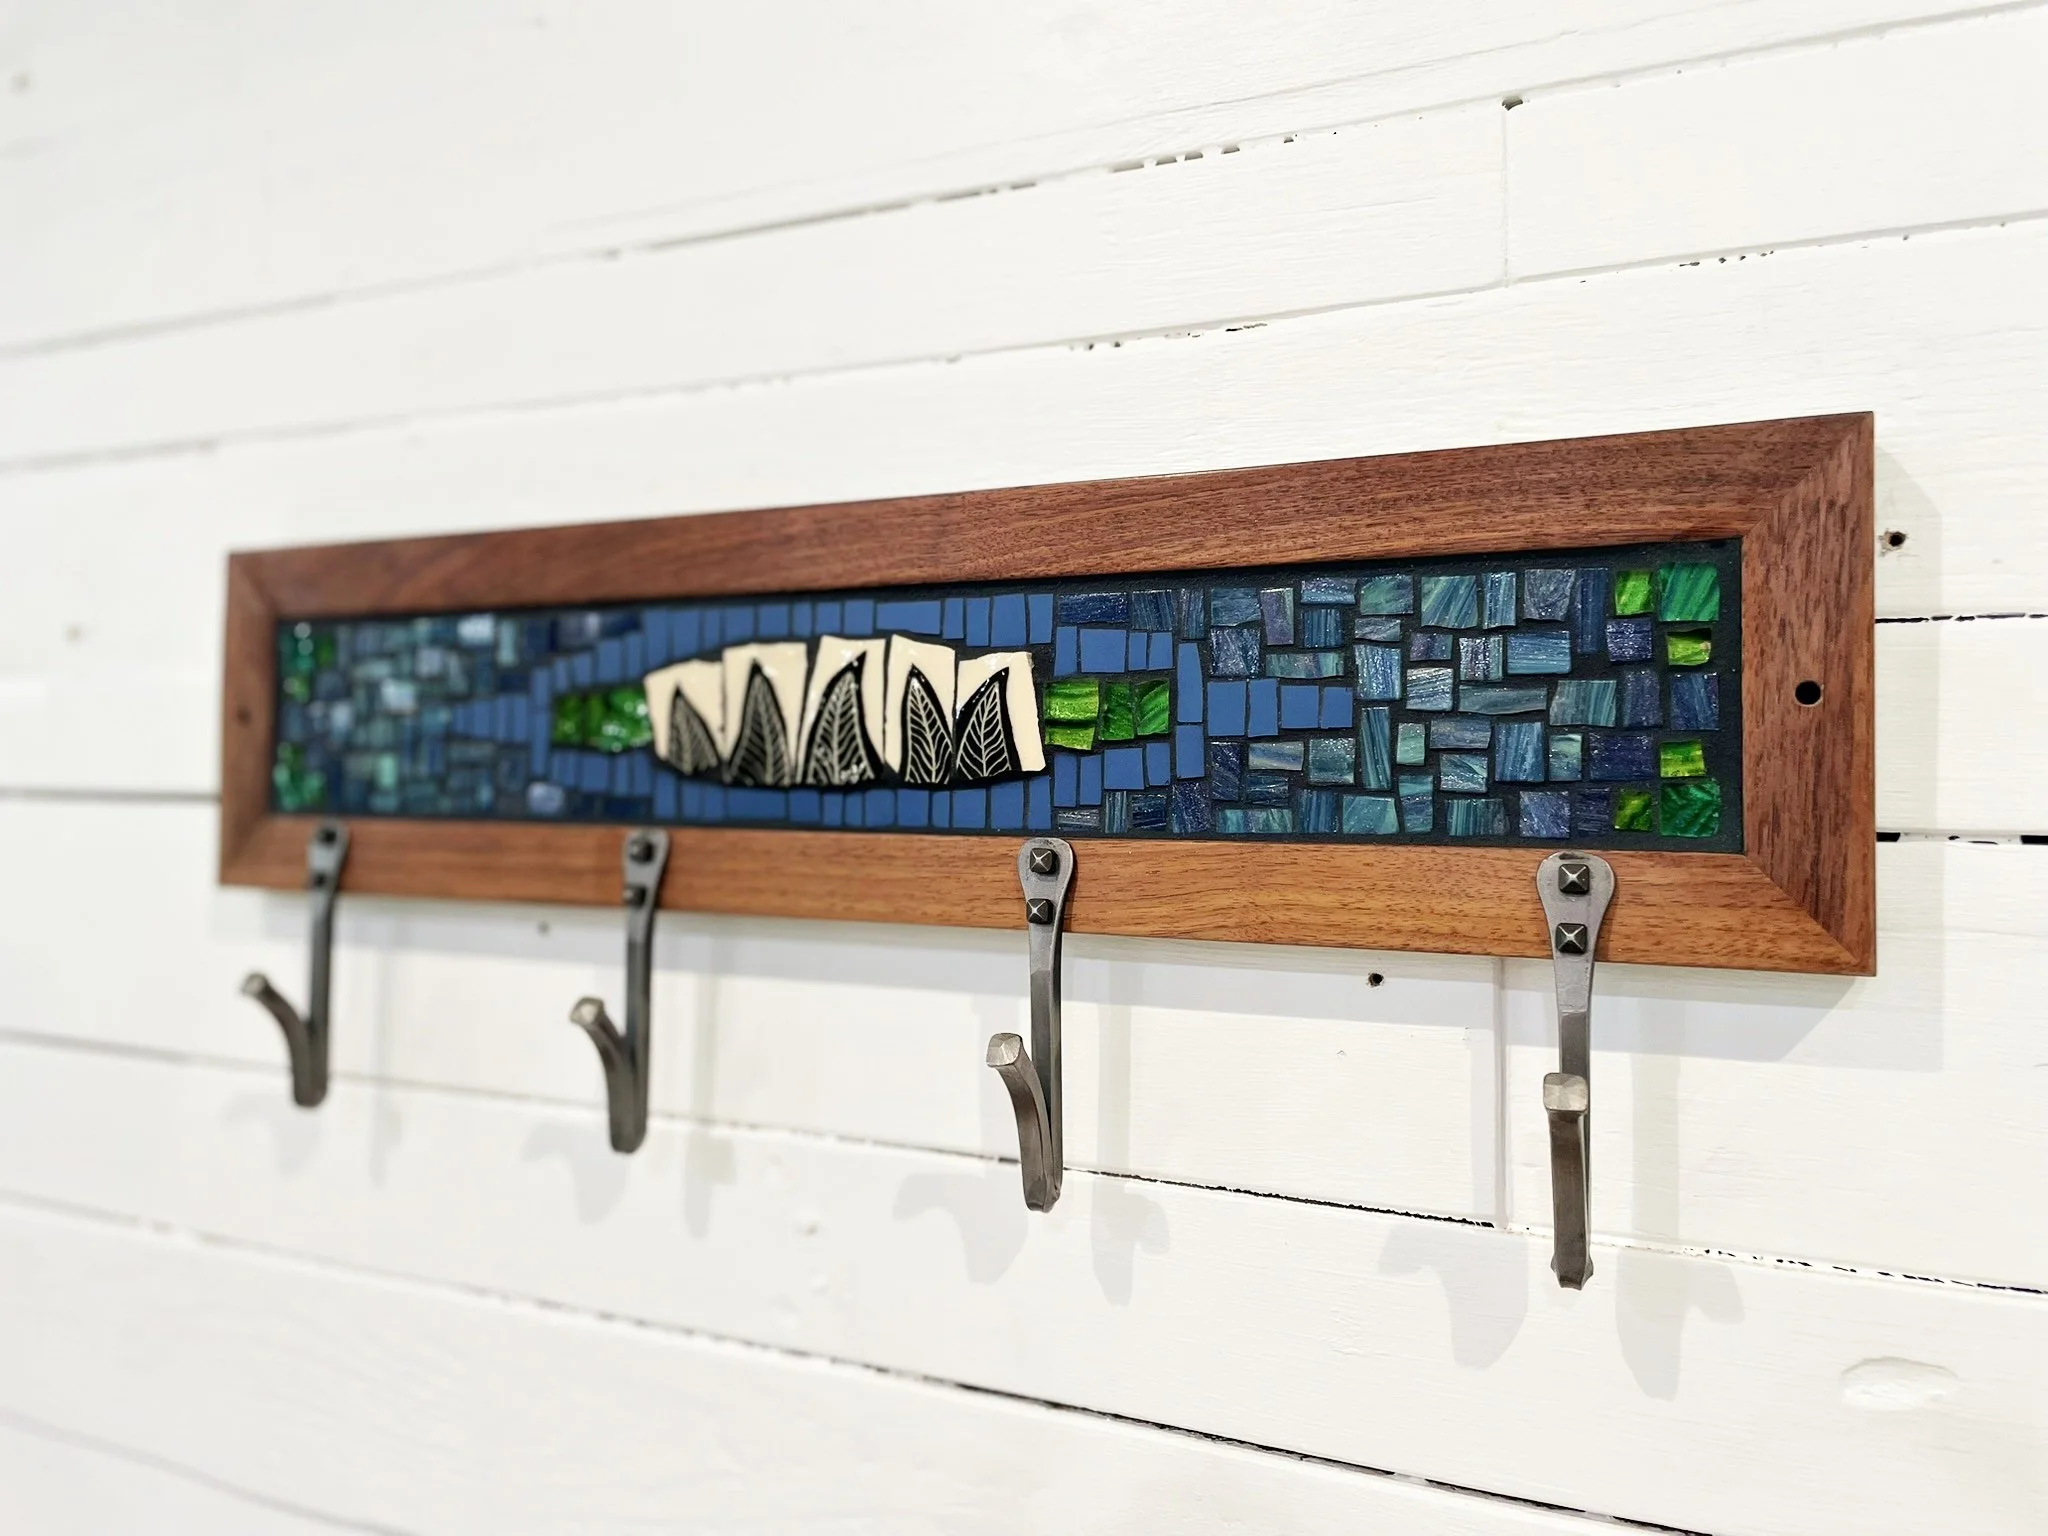
We recently finished a commissioned coat rack based on our line of mosaic coat racks in reclaimed wood frames with hand-forged hooks. This big guy, however, was almost four times as big as our usual coat racks!

The client's hallway rug was the source of inspiration for both the colors and the design.

Pulling together the color palette and sketching out design ideas.

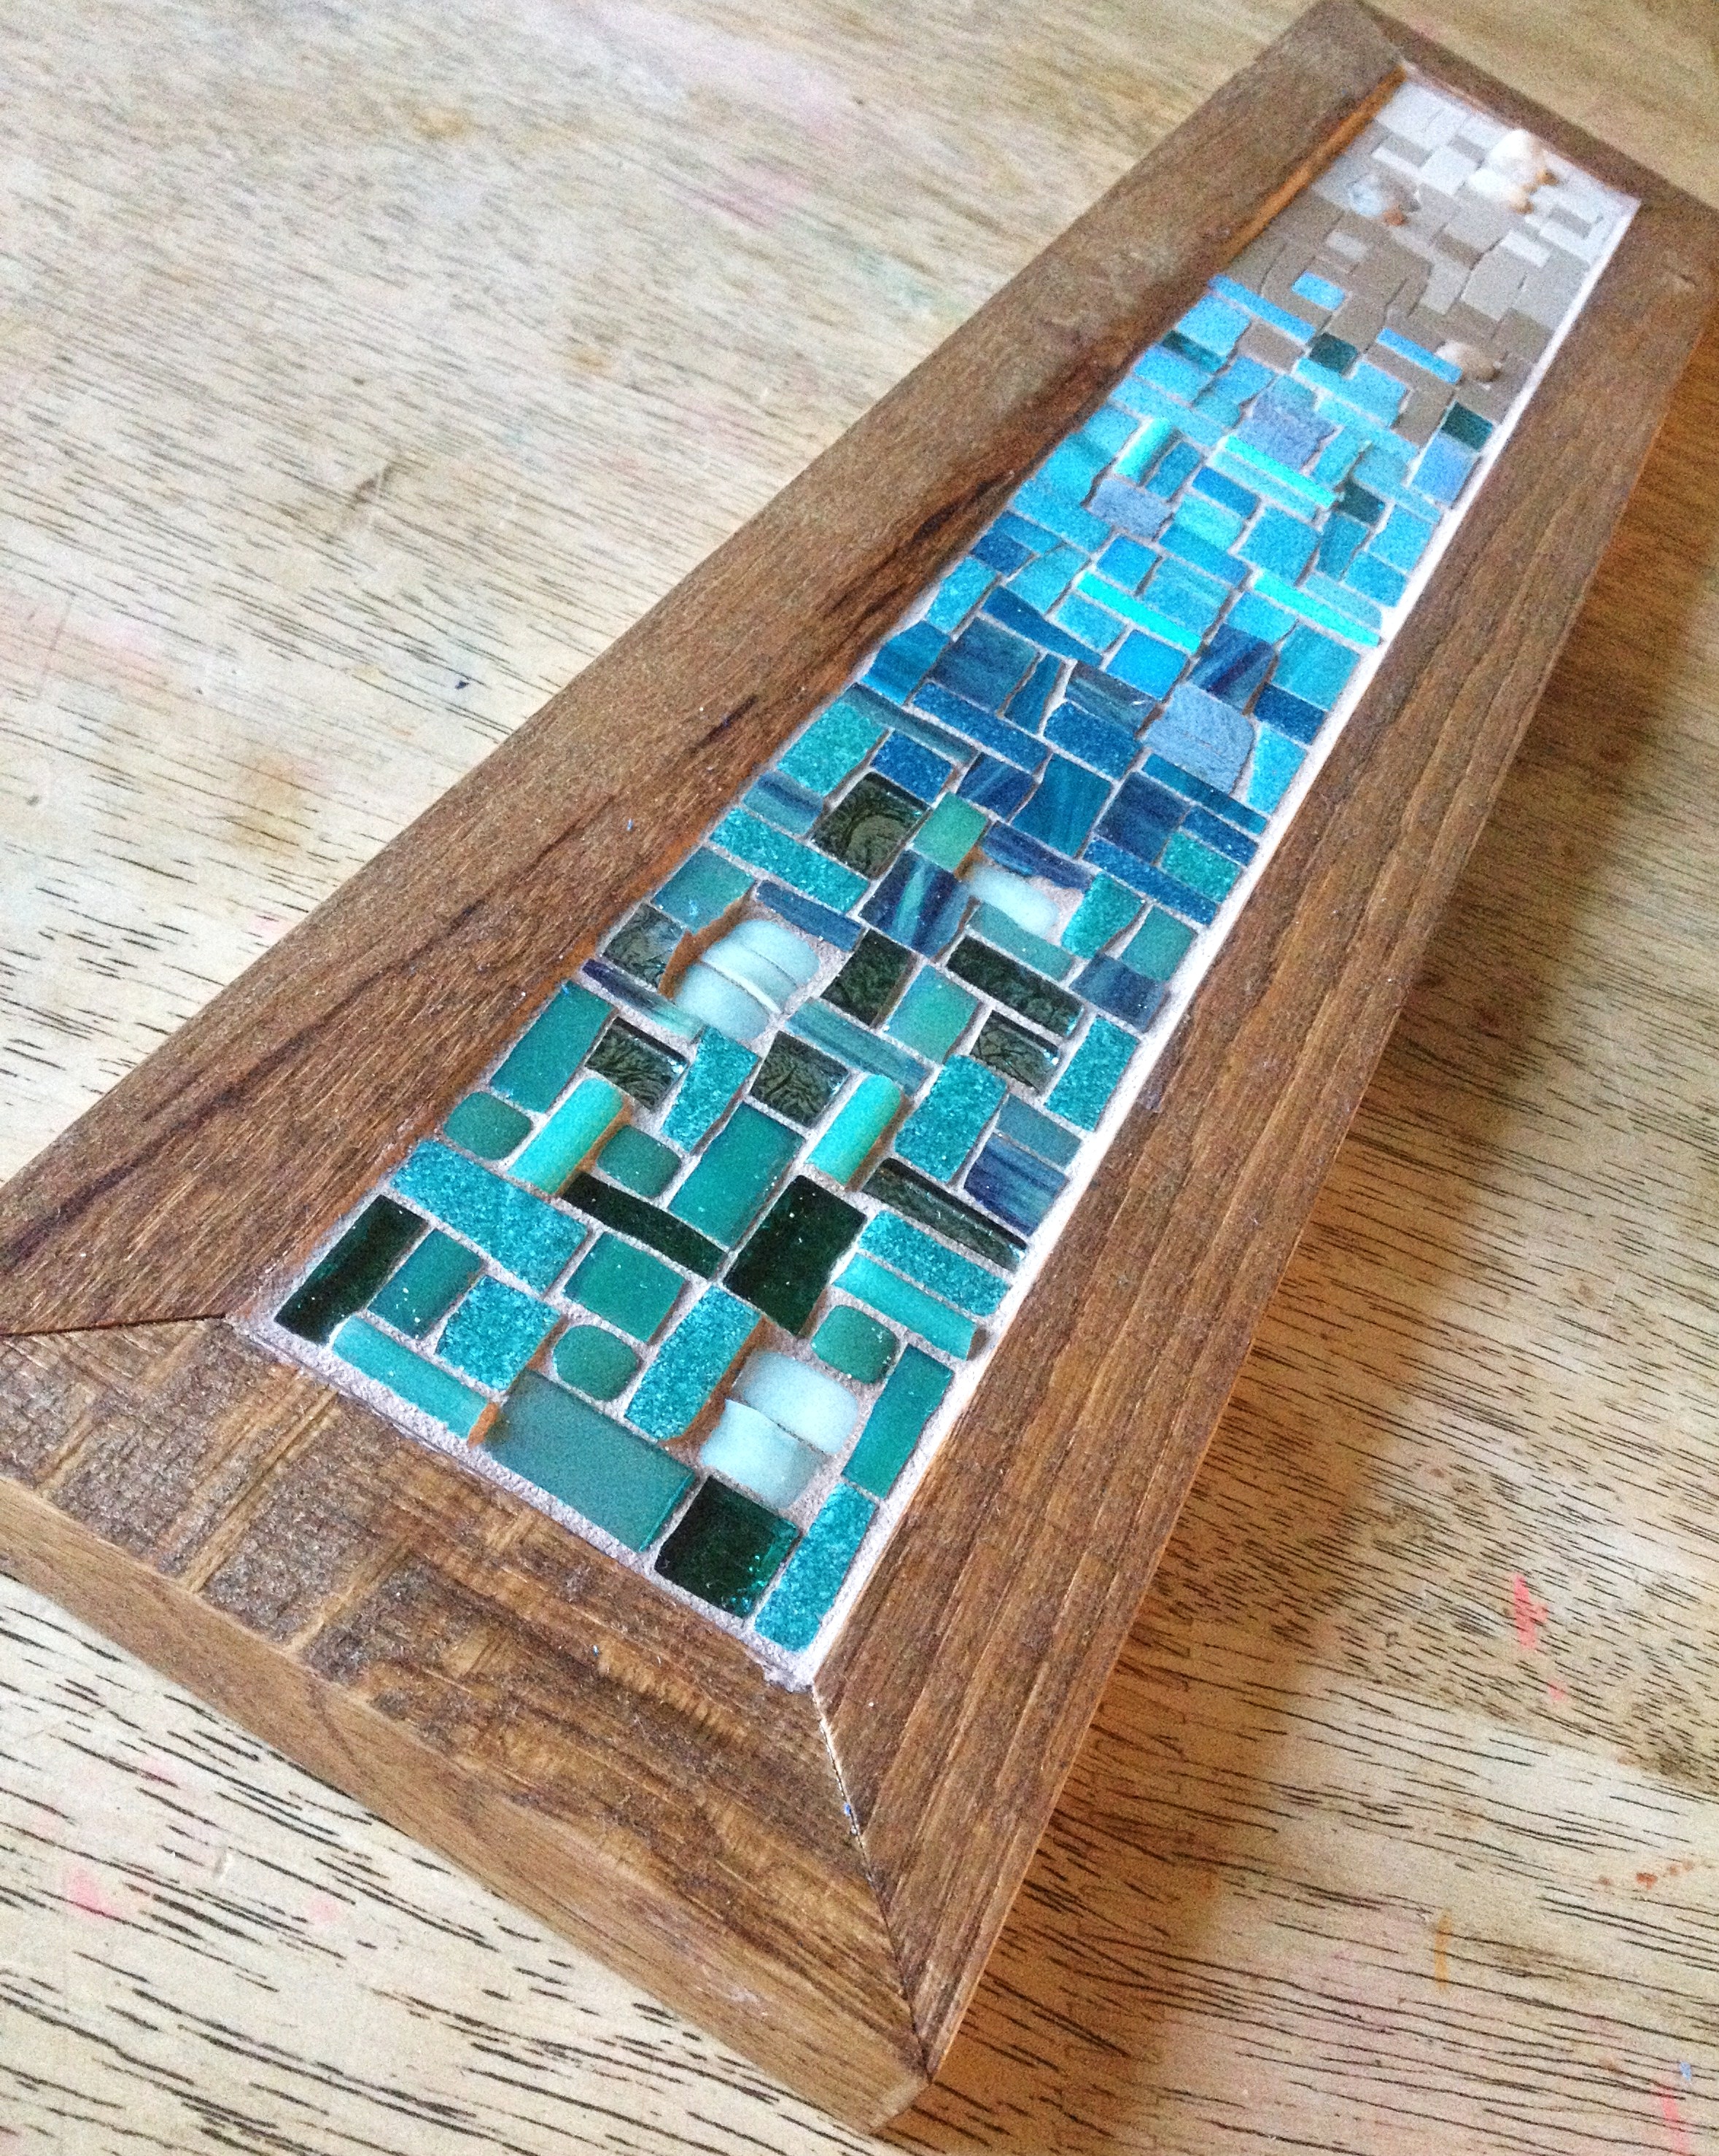
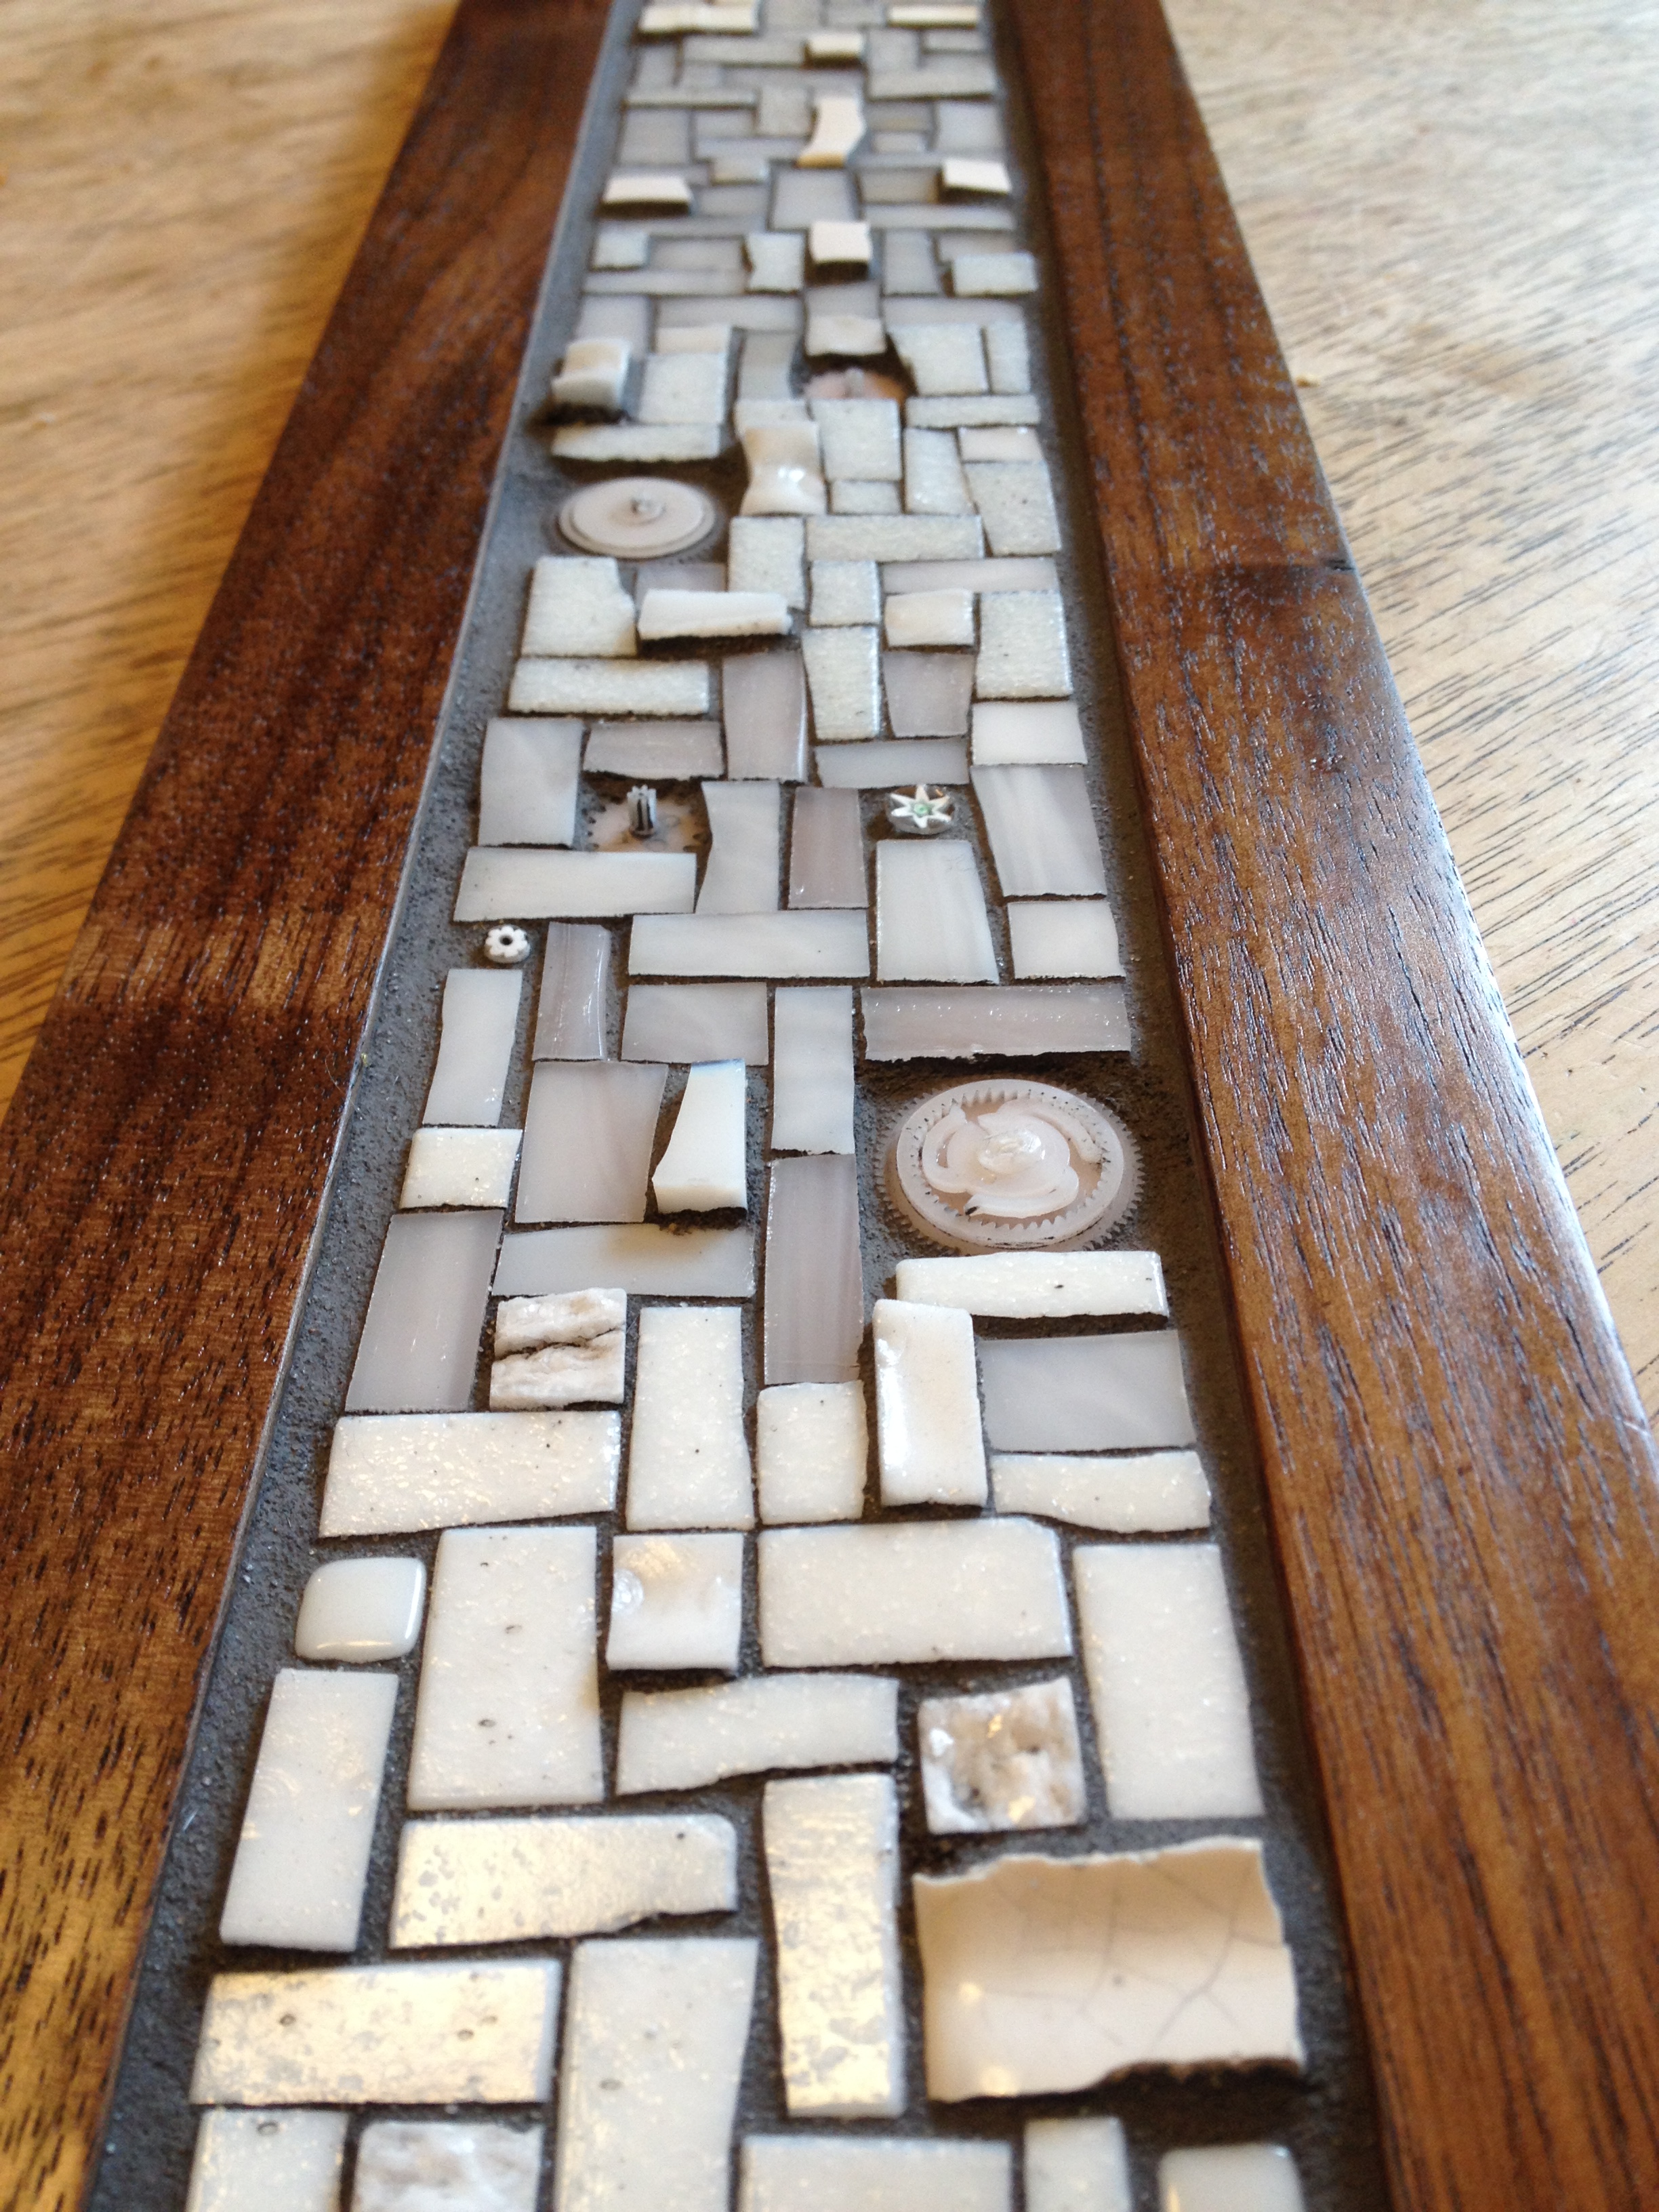
Johannah used grout lines and andamento, the visual flow created by the placement of the tesserae (tiles), to create a sense of movement and balance of colors similar to the rug.

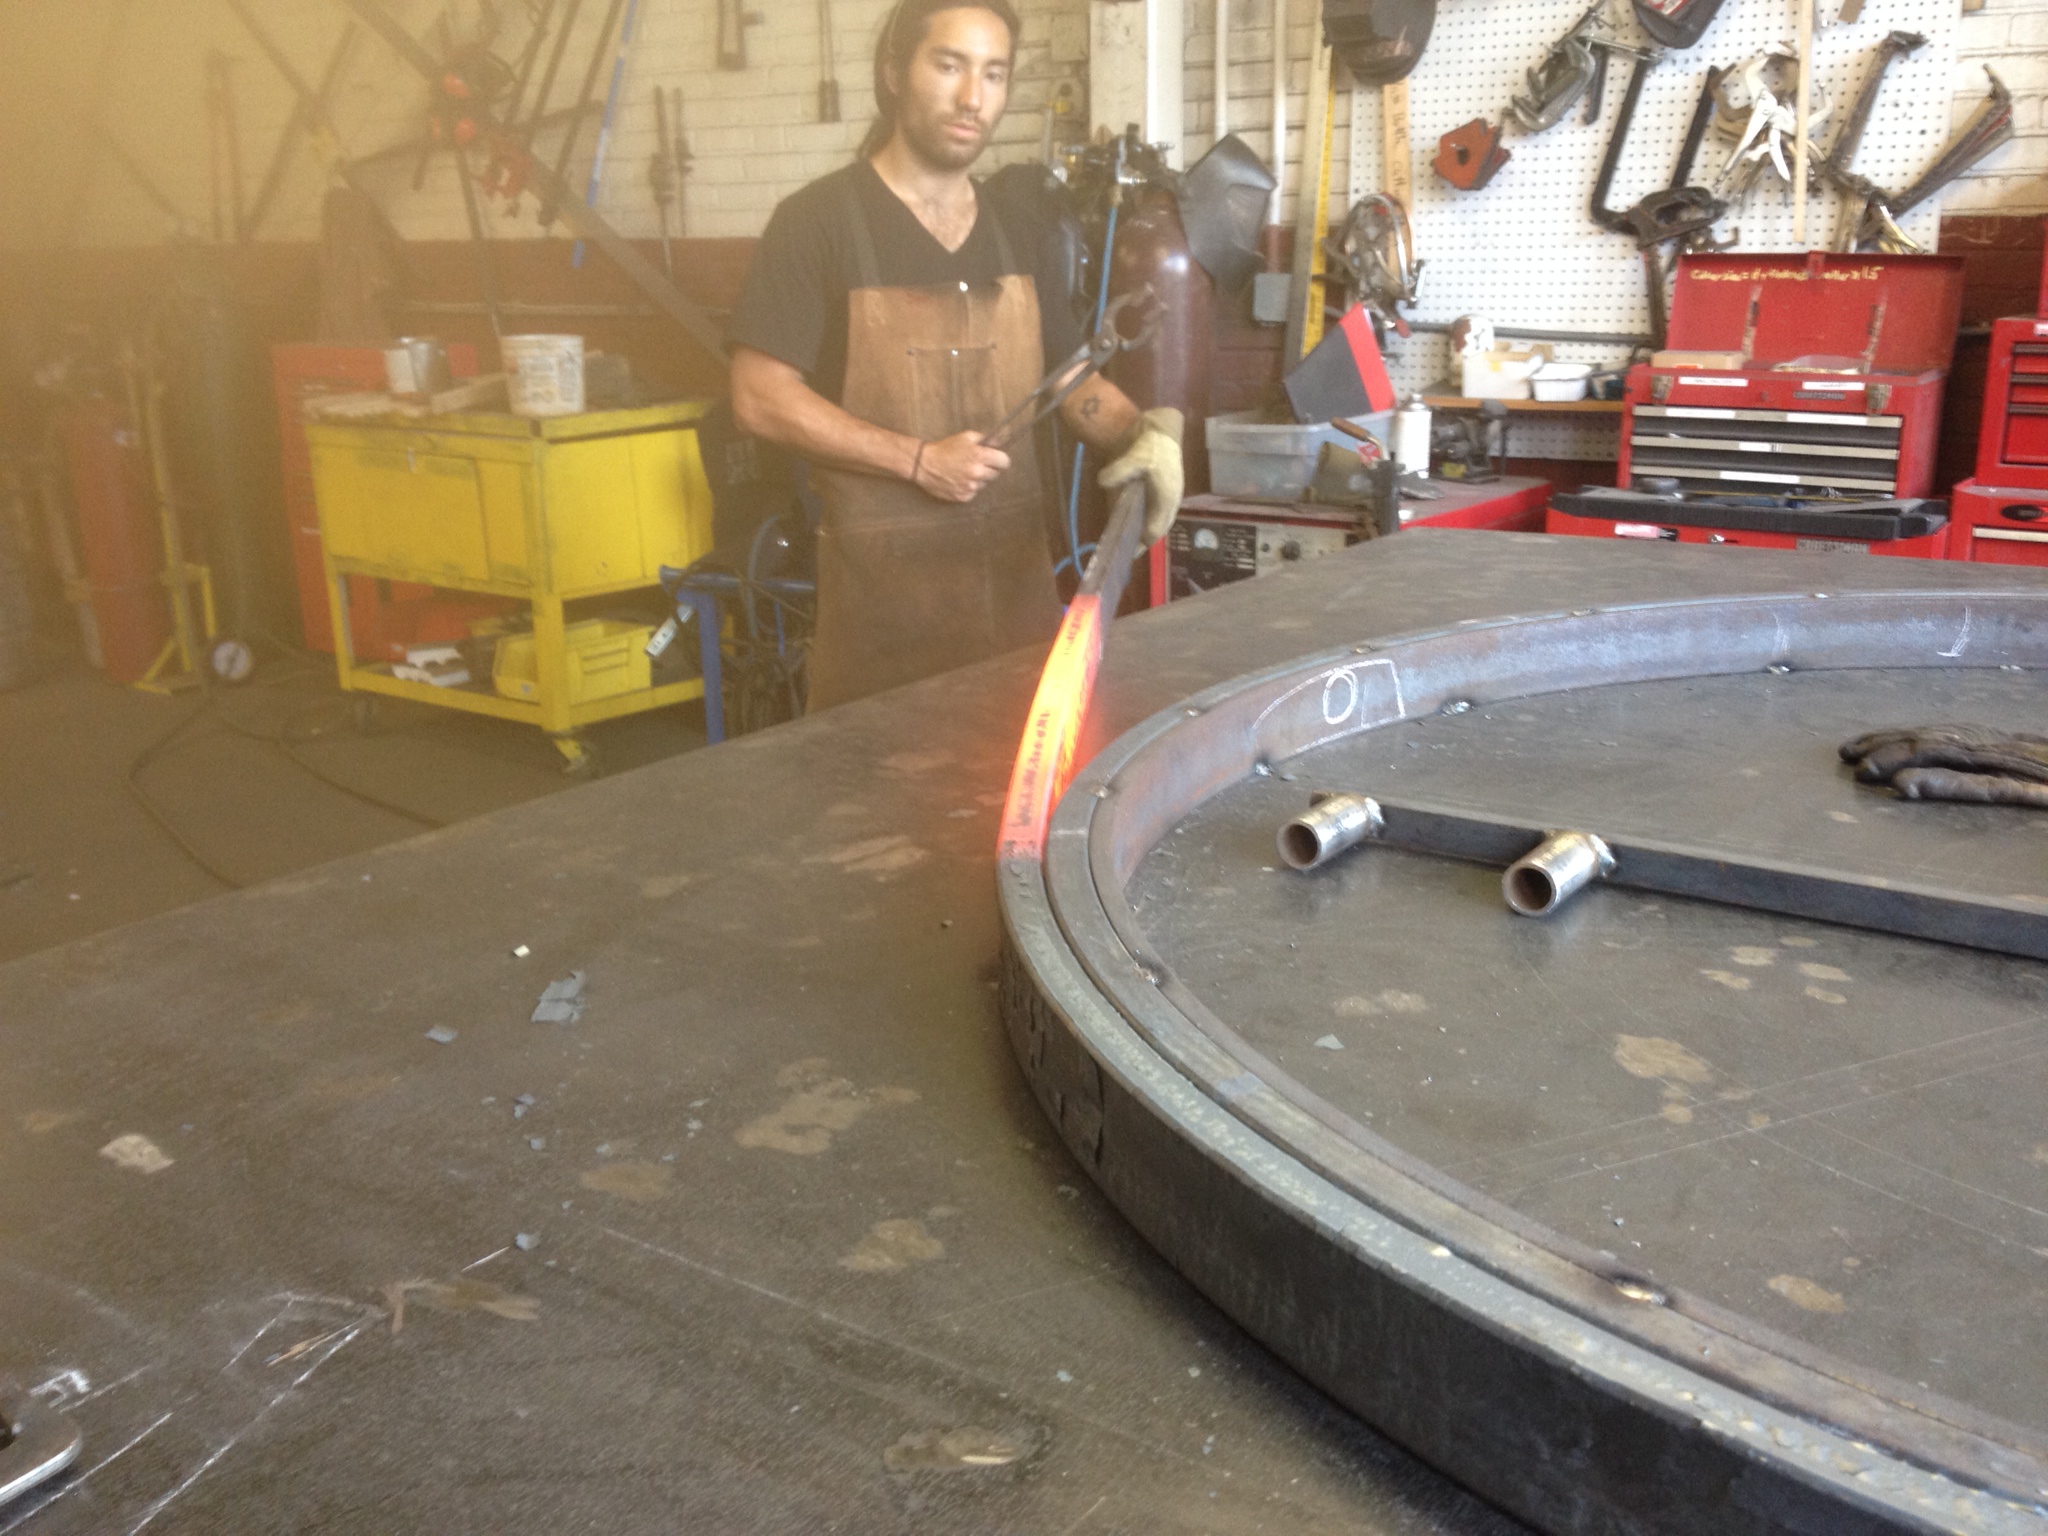
Kyle created a reclaimed wood frame twice as wide as our usual frames to support both the physical and visual weight of the mosaic. He added his V-style hand-forged hooks to complete the piece.

A few custom coat racks

We first introduced our line of mosaic coat racks with hand-forged hooks and a reclaimed wood frame last fall, and they have turned out to be such a fun item!  We love that they bring together all three components of our work: metal, mosaics, and wood. They're a colorful, unique way to dress up a functional household item. And there's lots of room to make them personal, whether in color, theme, or material. Here are a few of our favorite custom coat racks so far:

One of our very first custom coat racks was for our smaller two-hook version.

This was our first coat rack with a frame in reclaimed walnut rather than pine. We loved it so much, we made it a standard part of our coat rack repertoire.

Arranging the palette for a blue and white mosaic based on the very first one we made in green and white.

This one incorporates personal objects collected by the client. It was a joy and an honor to put together such a meaningful piece.

Here's a completed (non-custom) coat rack with hooks installed. For more customization fun, we have two styles of hooks: the V on this coat rack, and a more traditional U style.

Forging a Window

Kyle recently completed a commission from a stained glass company for a large window. While the work wasn't fancy, it did require the skills of a blacksmith to bring it to life.

The first section we needed to make for this arched window was a tight curve from thin-walled steel tube. Modern tube benders would distort the shape of the tube. A thicker walled tube would give the window a rounder edge than we were looking for. To get the right look, we constructed the top arch by laminating several layers of rectangular tube, which we pulled hot around a steel form.

My assistant Matt helping me pull the last course of rectangular tube for the arch.

The three layers of curved steel, still warm from the bending process, clamped together to cool.

The upper mullions posed another challenge. The T bar material used to make them can be rolled on a modern roller, but that process requires an expensive set of custom dies, and like the tube steel for the arch, would distort the material. Our solution was to create our own tooling.

I love making tools! This is the T bar bending apparatus I made to help us get the job done.

Top arch is done! Now for the bottom.

This puppy is so big, it took not one but two assistants to get it cleaned up and ready to go.

Off to the sandblaster before we paint it. Thanks Kallen and Matt for all your help!