Custom Coat Racks

Time for another round of some of our latest custom mosaic coat racks! Scroll down to read more about the ideas that inspire our custom coat racks and see the resulting artwork.

{Click any of the images to enlarge.}

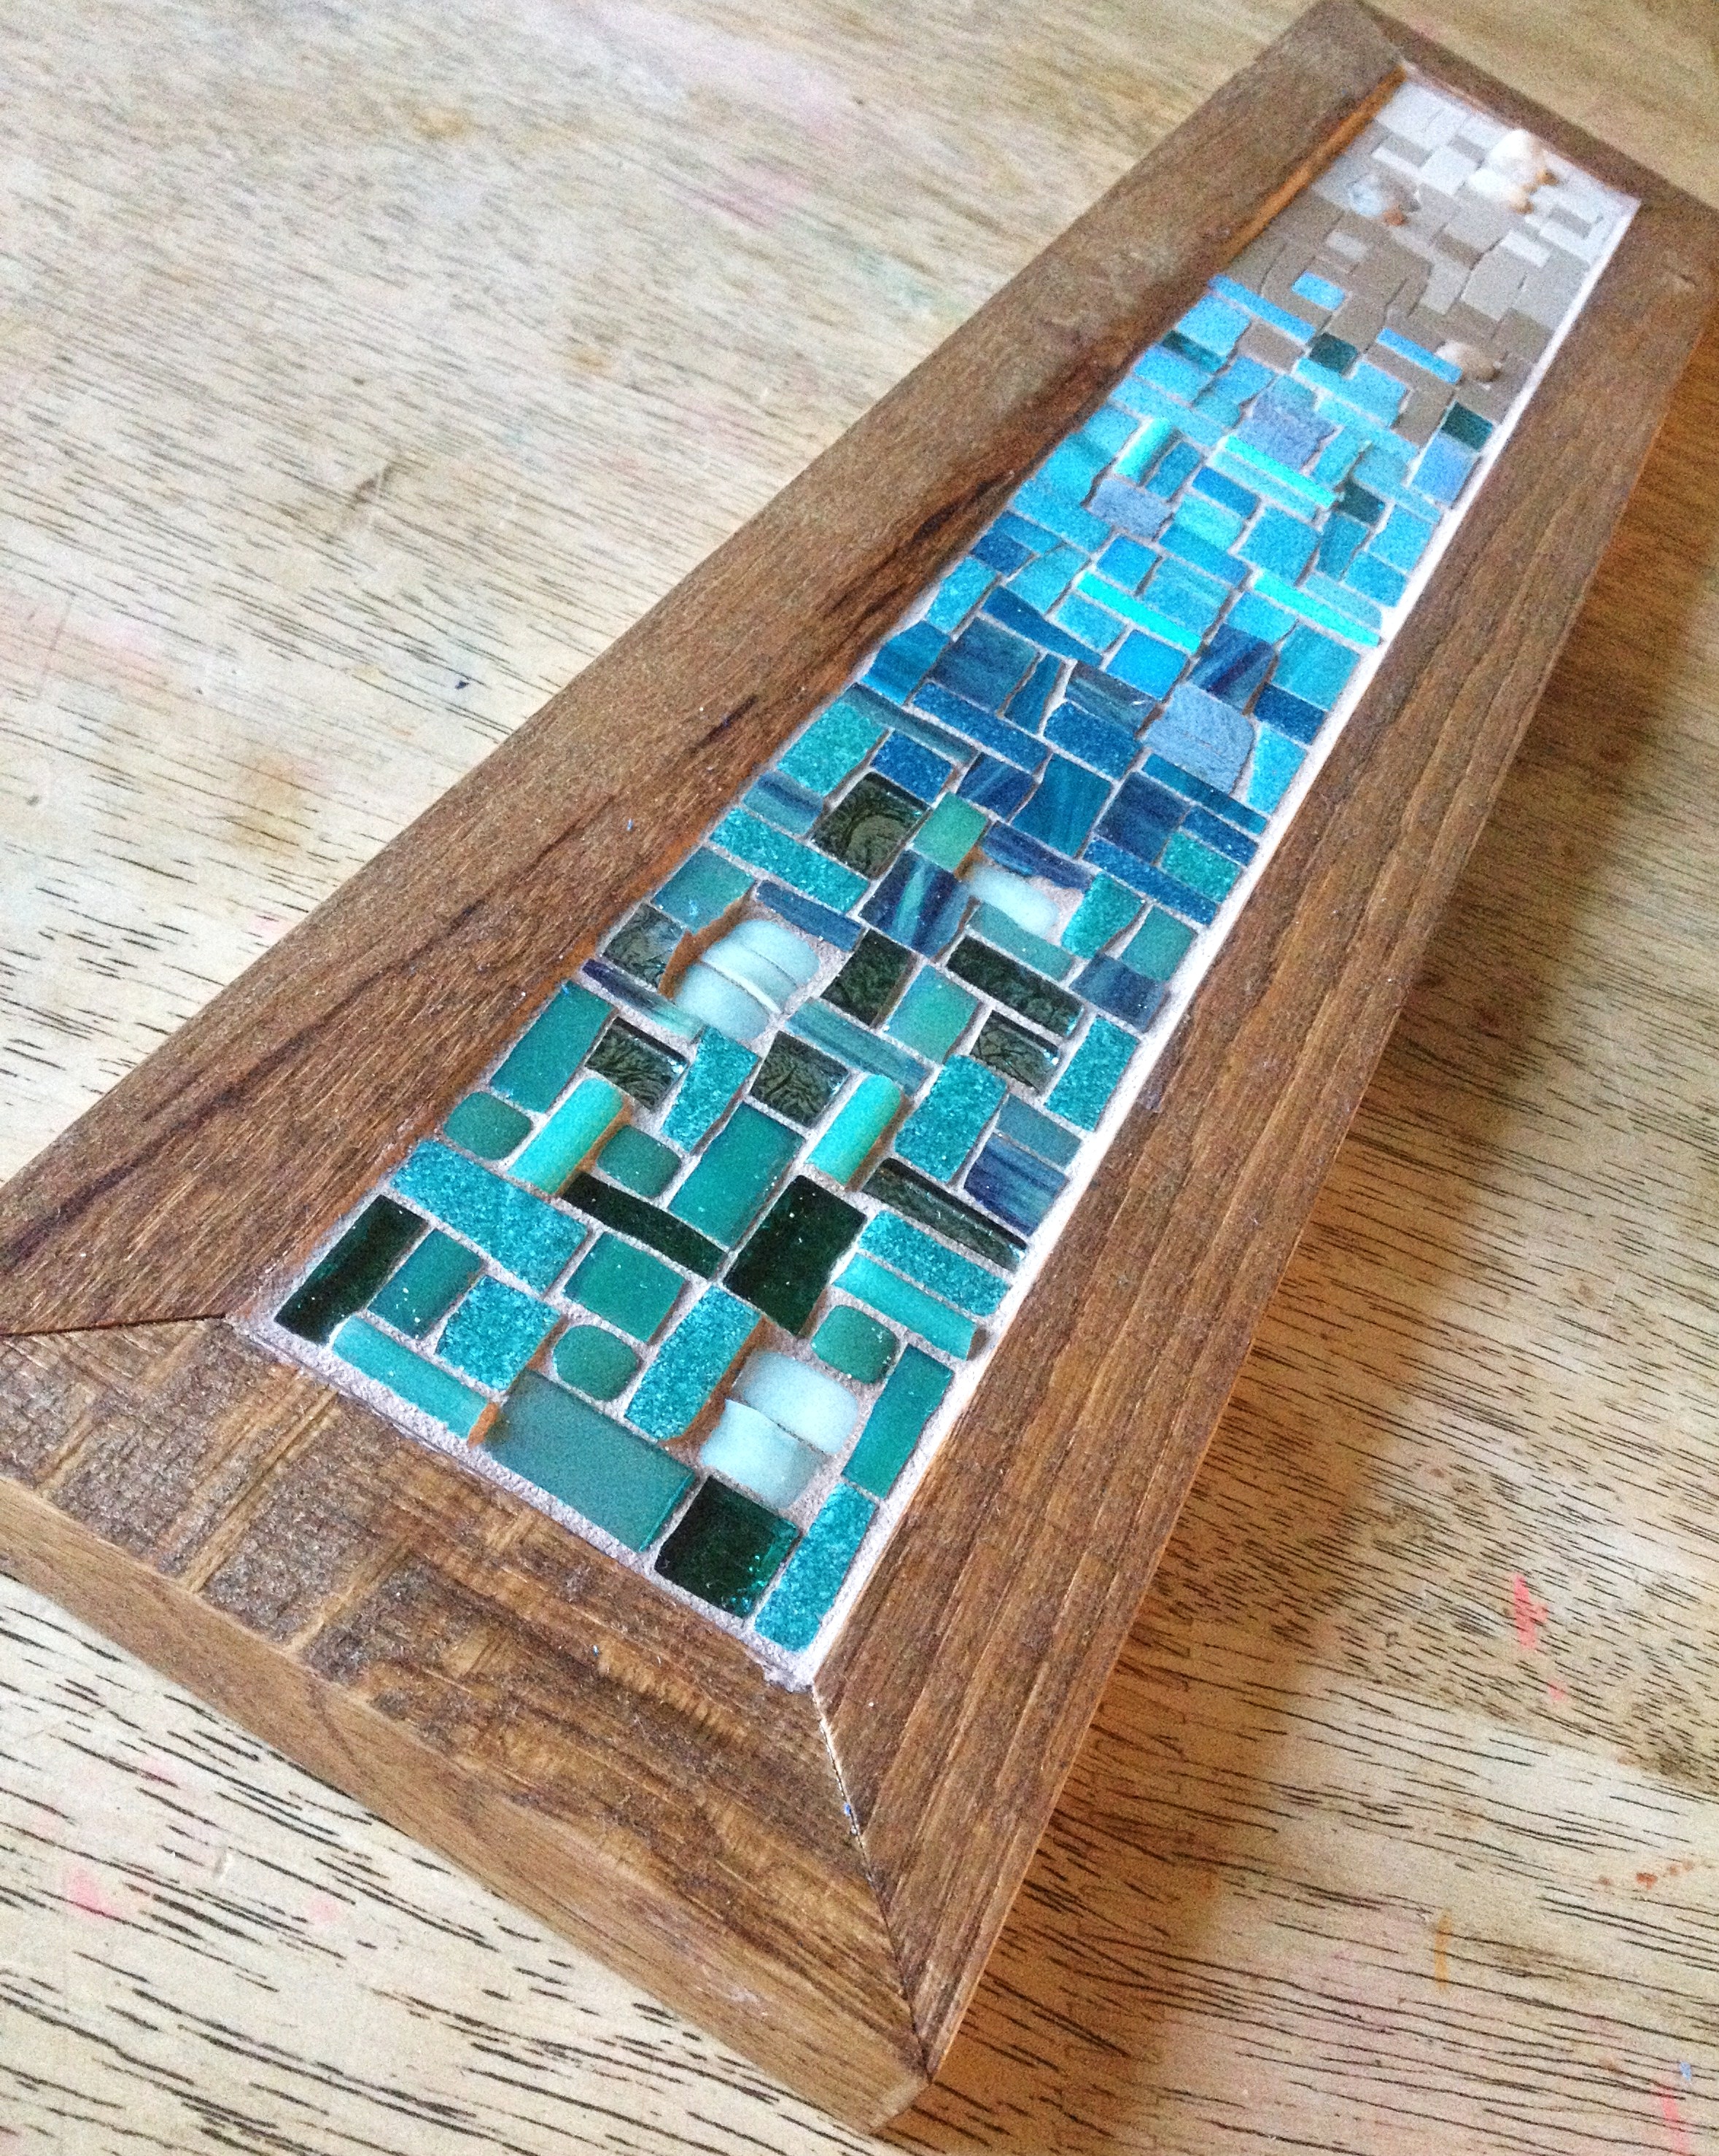
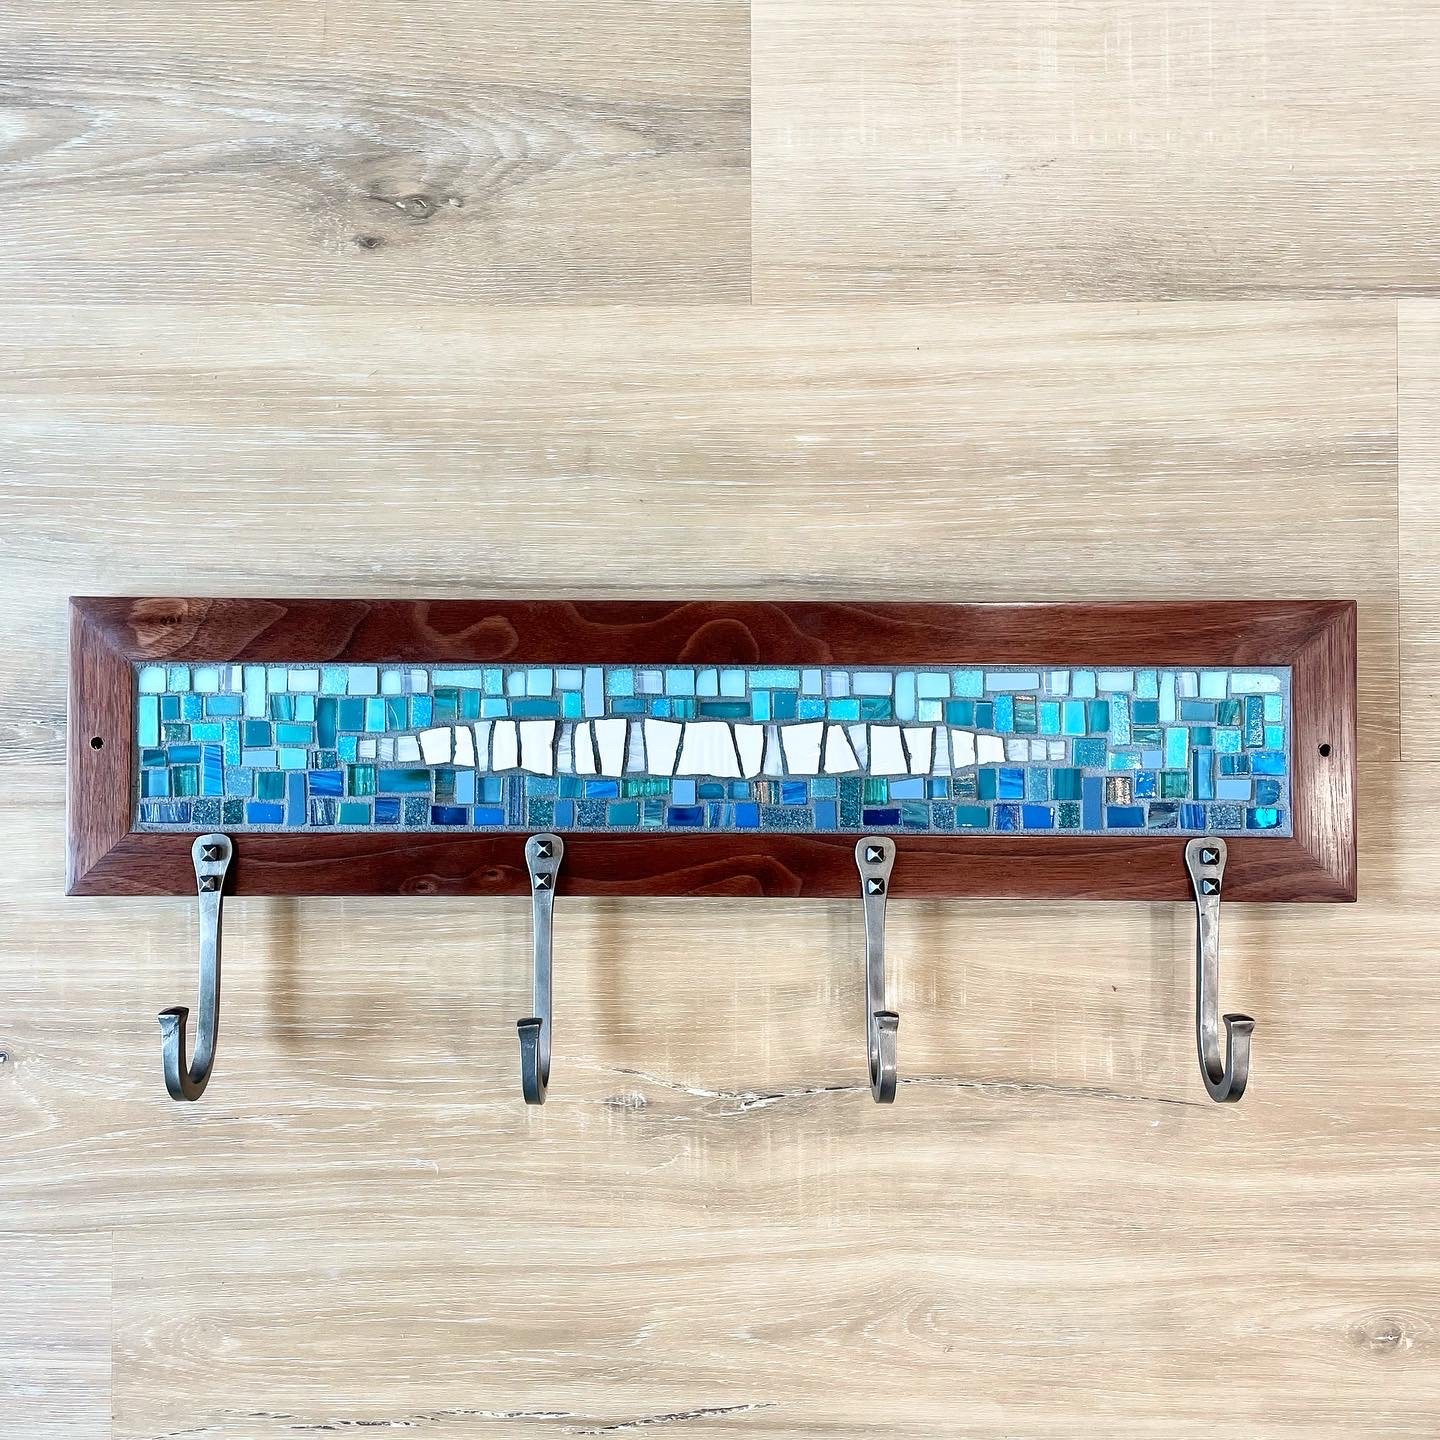
This piece in ocean colors was for a family that lives near the beach.

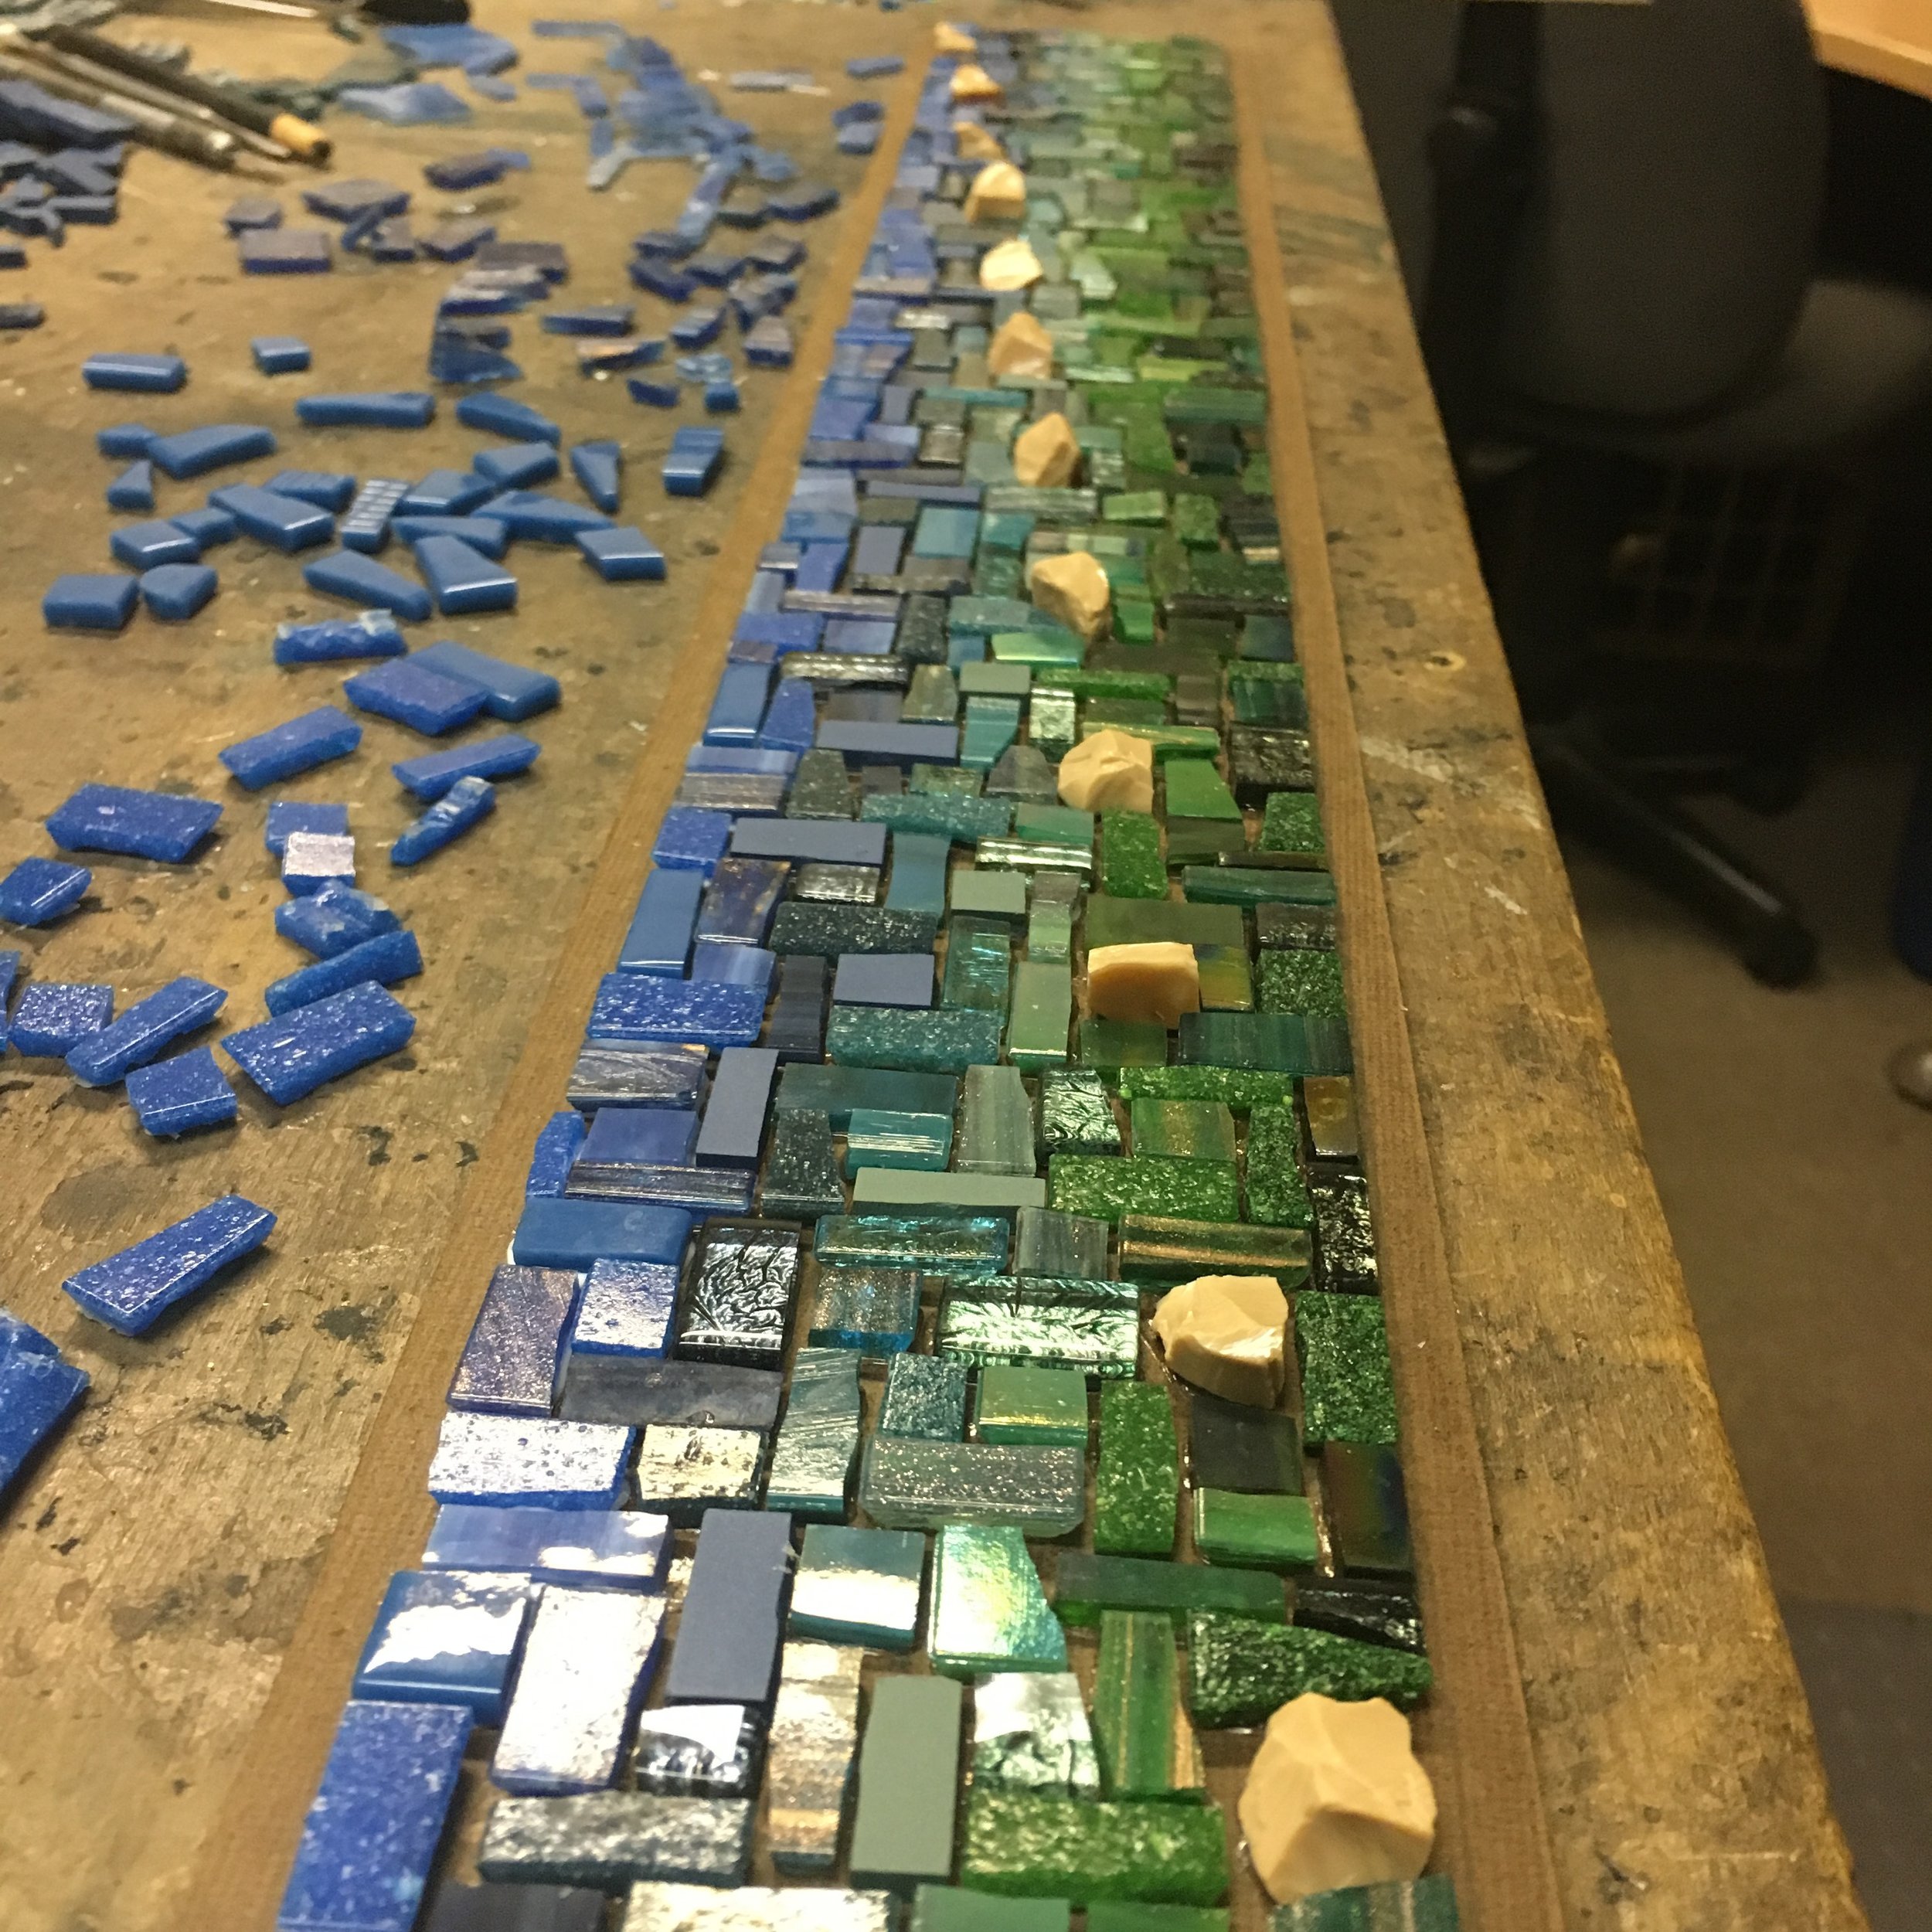
A few process shots, clockwise from top left: sorting colors, a blue and white piece inspired by an earlier coat rack, a gradient of cool colors on the worktable, and a finished shot of the cool colors piece. Would you be surprised to learn that greens and blues are by far the most popular colors for custom coat racks?

This red and tan piece was a special request for a coat rack with three hooks.

Grouting a silver, blue, and purple mosaic in a white frame. This was our first request for a painted frame.

Saving the best for last.... this special piece stars the Chicago skyline. Several landmarks in particular were requested (from left to right): the Willis (formerly Sears) Tower, Cloud Gate (aka, the Bean), the Navy Pier ferris wheel, and the Cubs logo. We used found materials to set these points apart from the rest of the cityscape. All in all, a fun and satisfying piece to create!

Want to see more?? You can see the previous group of custom mosaic coat racks here.

To order your own custom mosaic coat rack, stop by our online shop. Have questions or something unique in mind? Use our contact form or email Johannah at johannah@phoenixhandcraft.com.
Making a Mosaic Coat Rack

In a post on social media a few months ago, we commented that there are a lot of steps to making a mosaic coat rack. So we thought it would be fun to expand on that and share each and every step along the way!

{Click on any of the images to enlarge.}

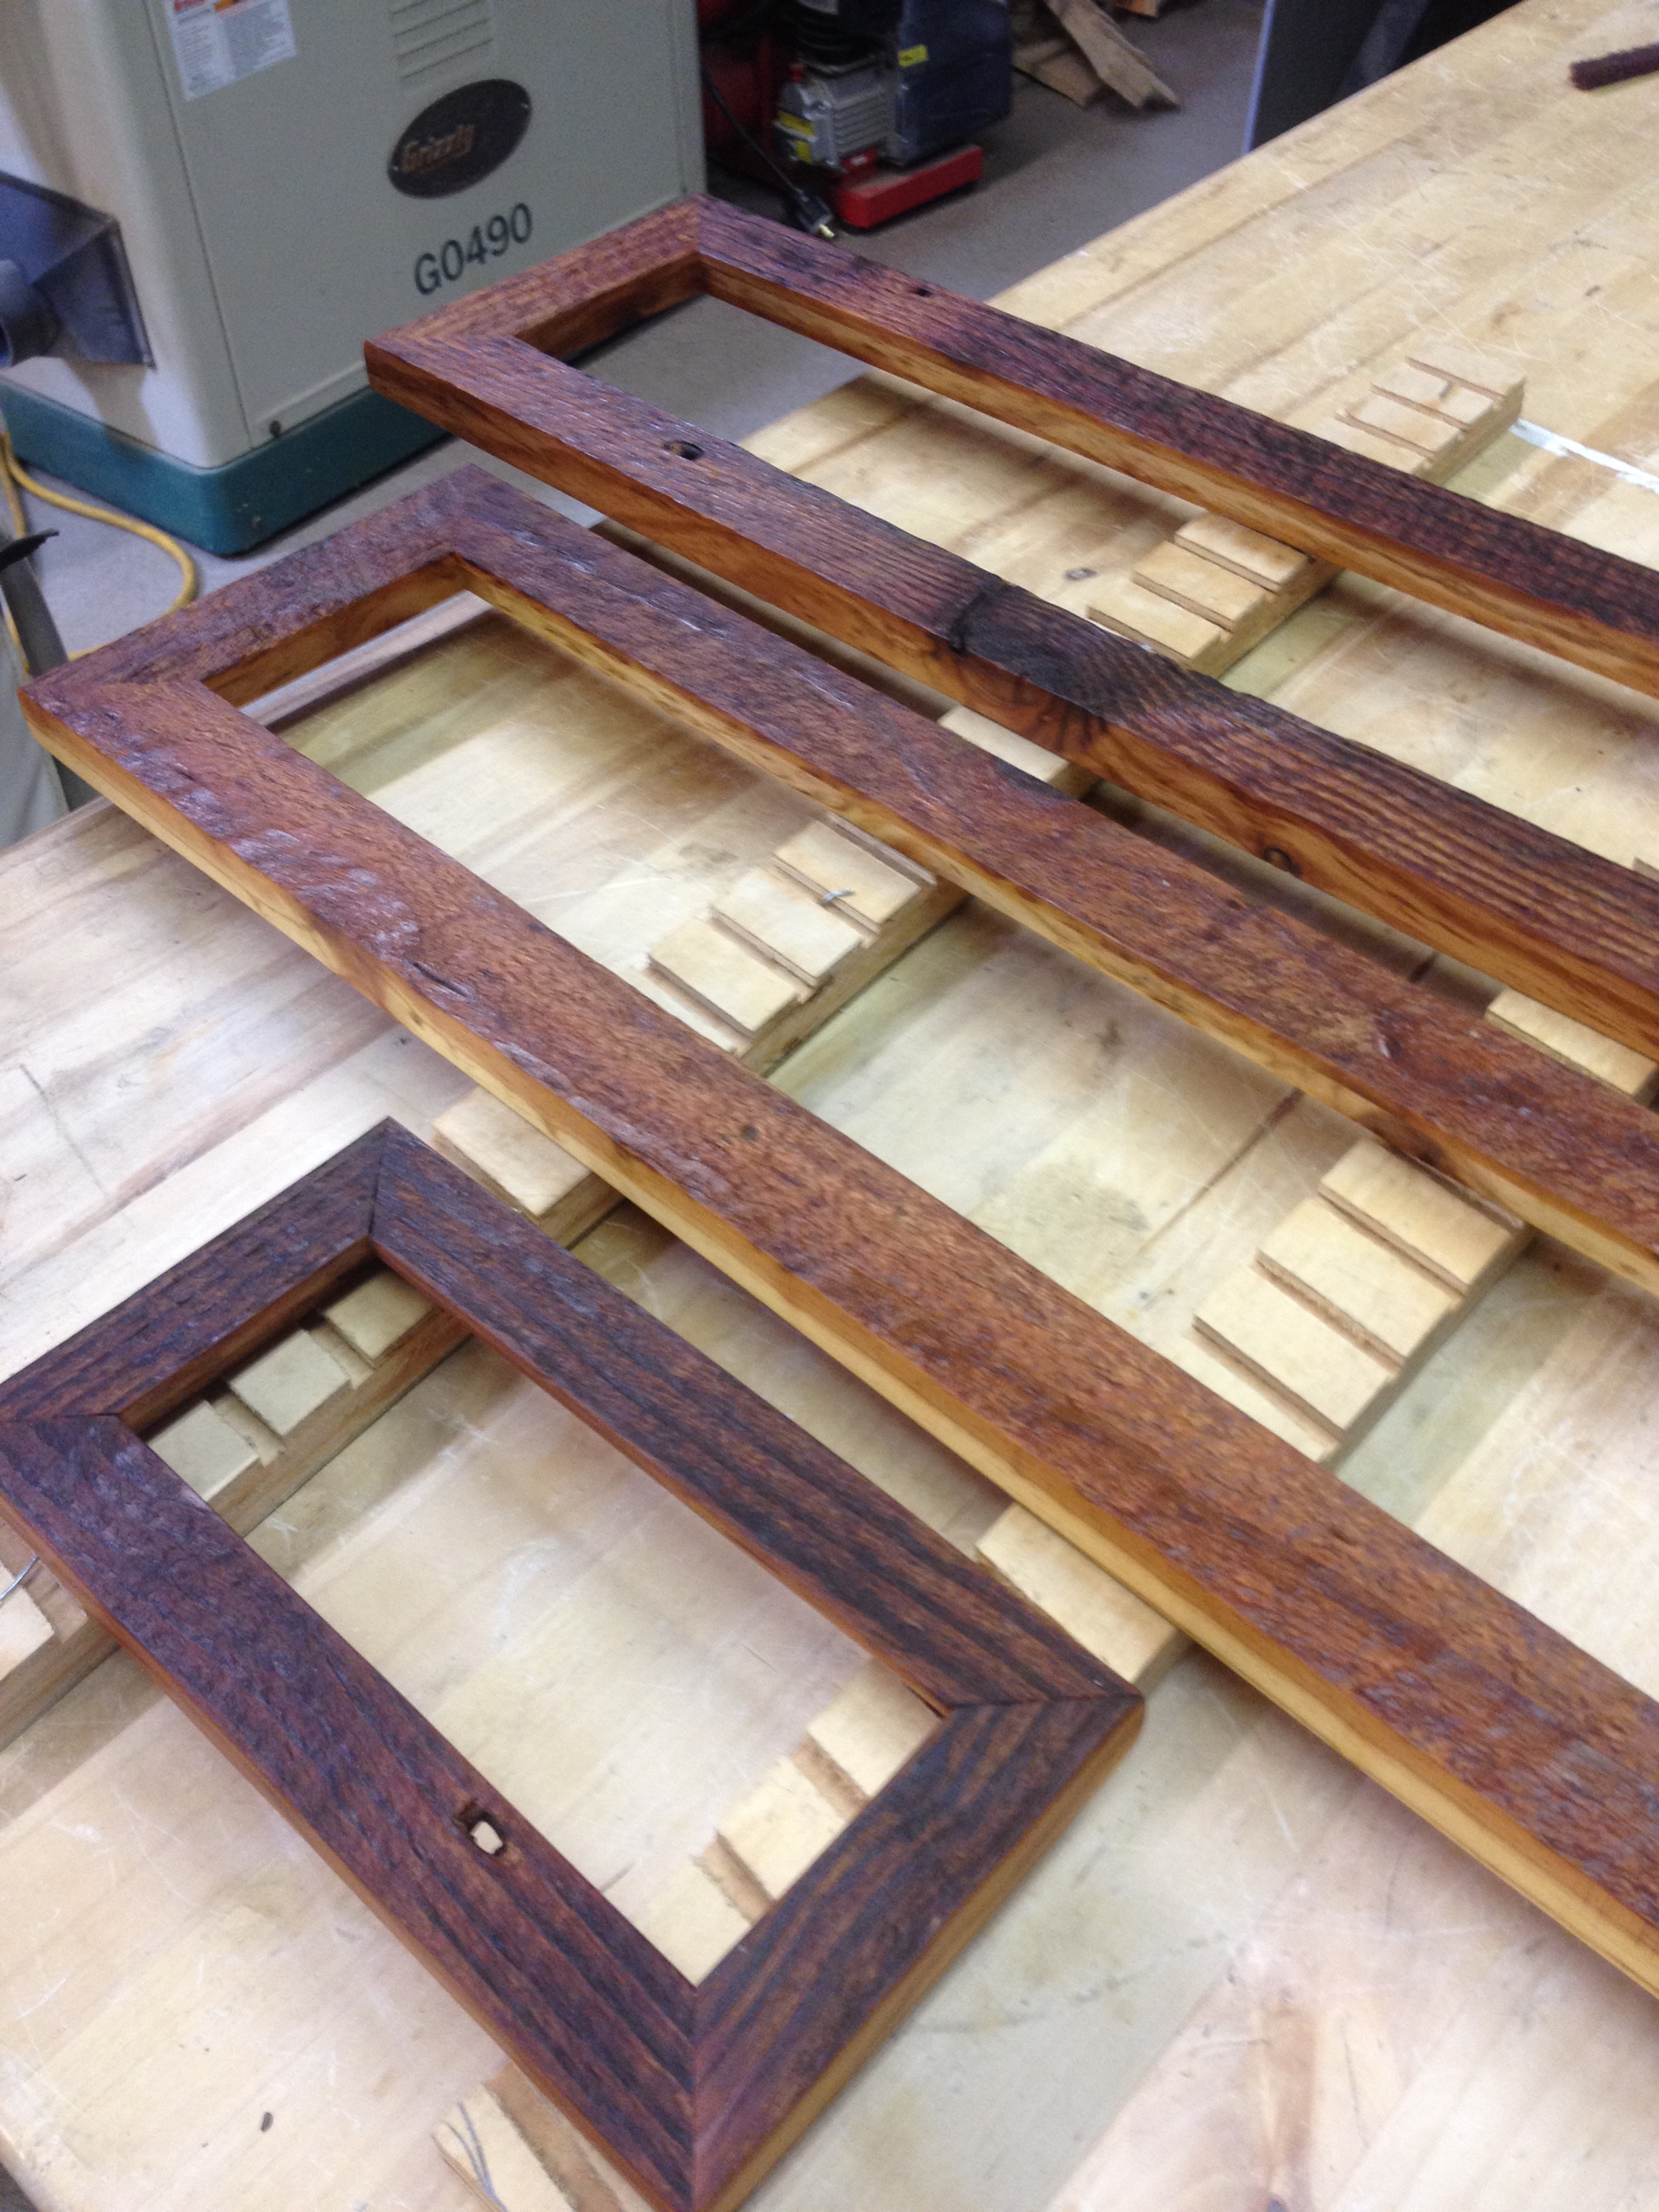
Kyle starts it off by creating molding from reclaimed wood. We use a few different varieties, with walnut and heart pine showing up most often. Kyle gives the frame an oil finish, creates a backer for the mosaic (also from reclaimed material), and passes it on to Johannah.

Johannah's first step is to seal the backer and mark the outline of the frame to make sure the mosaic stays within the frame boundaries.

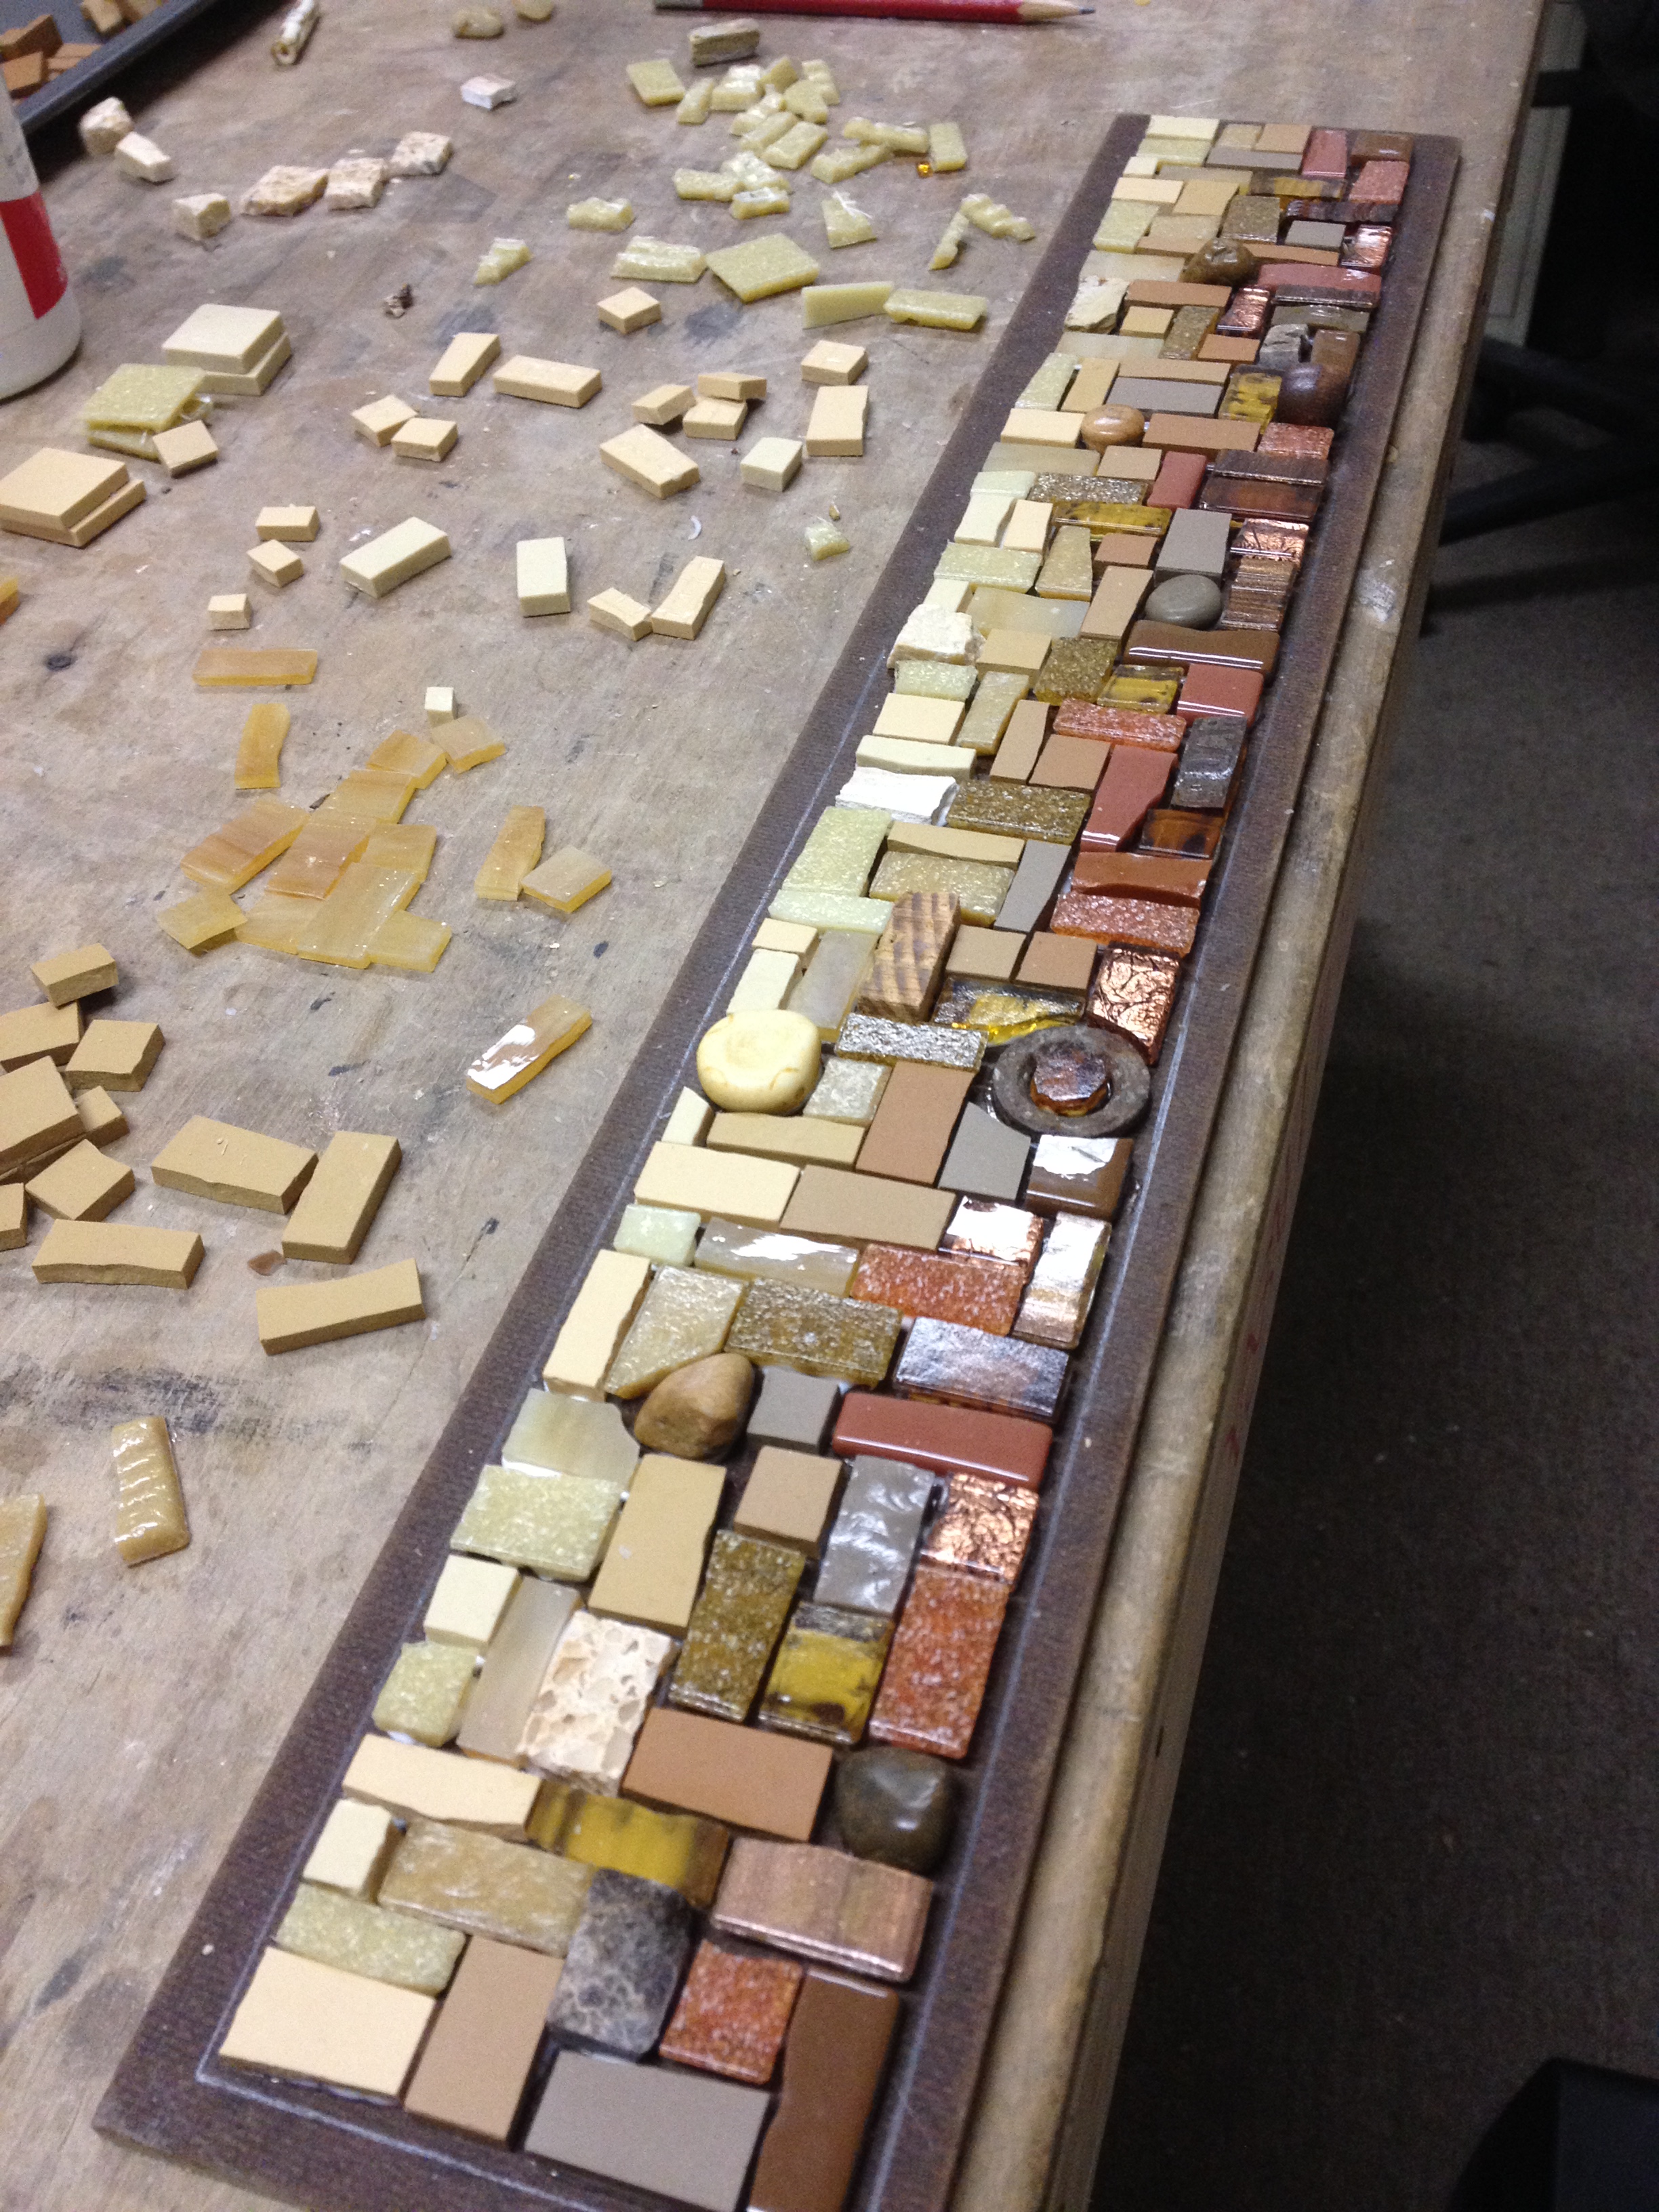
Next it's time to select and sort the mosaic material. Johannah likes to combine new and reclaimed material in a way that highlights the reclaimed material.

Once the material is sorted, we finally get to the  mosaic!

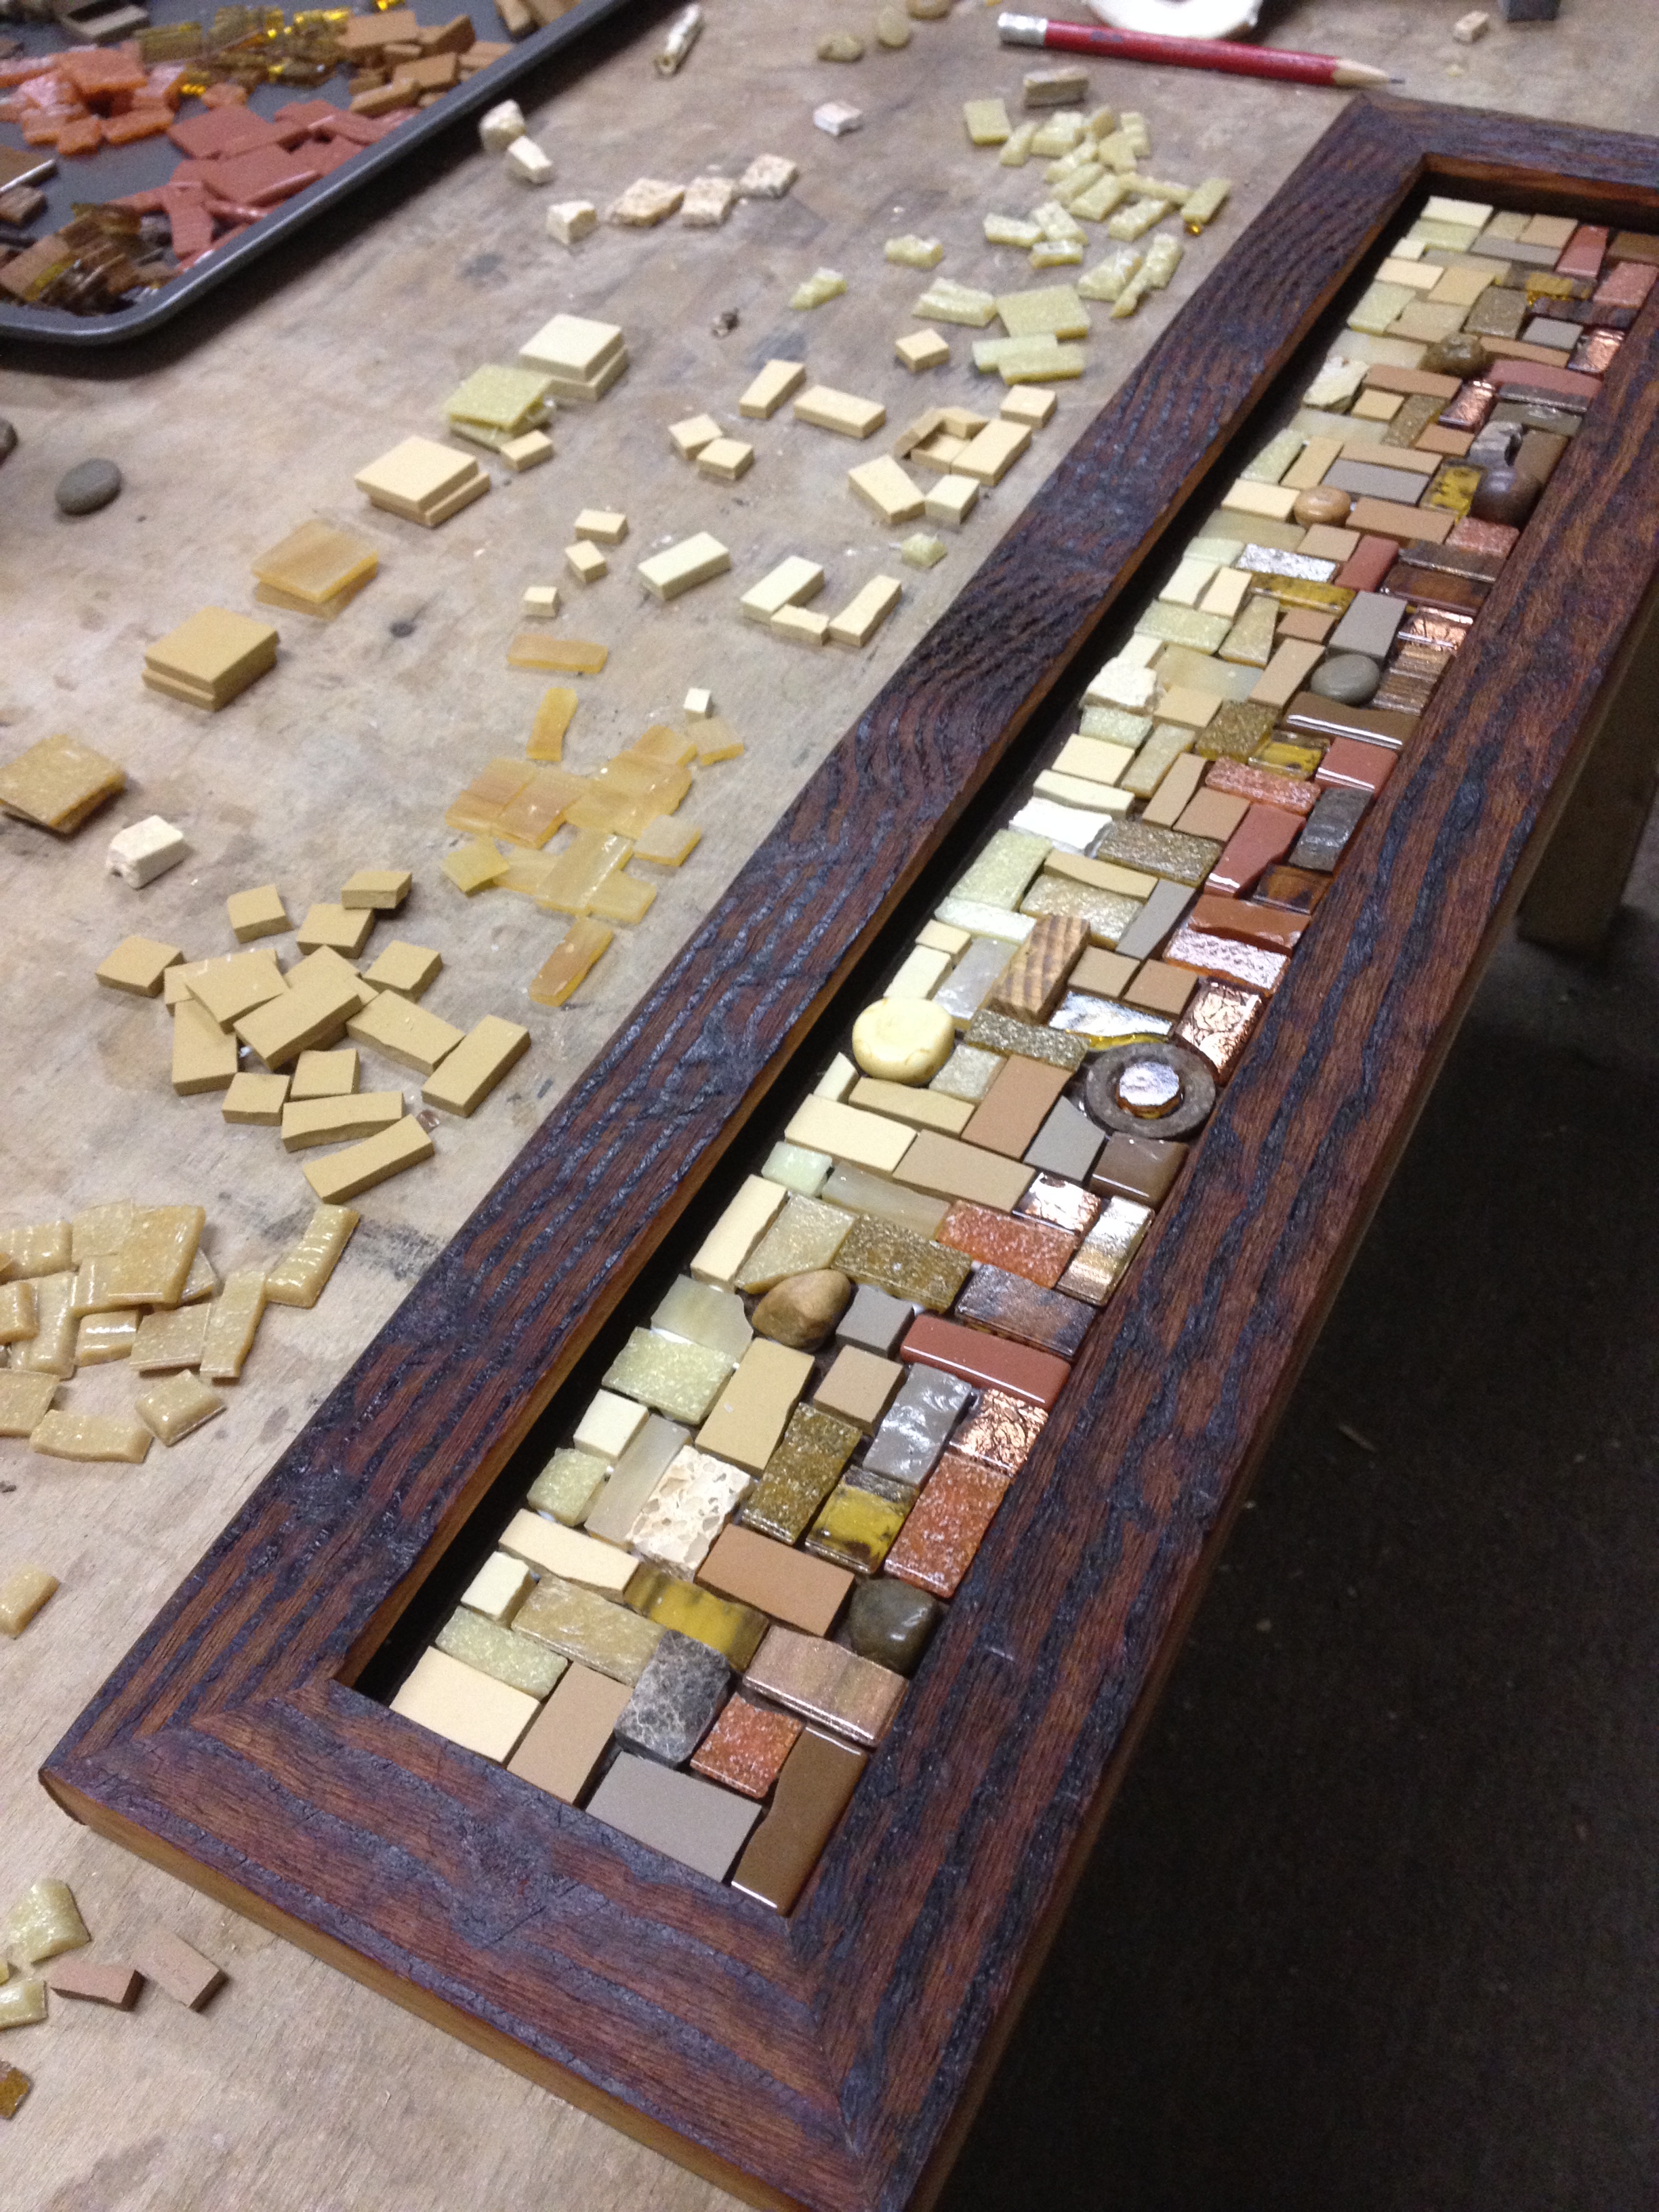
After the mosaic has had at least a day to dry, we glue it into the frame.

Once it's glued in the frame, Johannah grouts the mosaic. After the grout is dry, it goes back to Kyle to install his hand-forged hooks, then we stamp the back with the Phoenix Handcraft logo and Johannah signs and dates each piece. Kyle attaches hanging hardware, and at long last, it's ready to go!

GROWTH group show

This group show has been such a phenomenal experience! We worked with four other artists to create the work for this show, then installed it in a gallery at Crossroads Art Center. Though we didn't design any of the work collaboratively, it all flows together beautifully. The colors, the styling, the mood... right down to patterns and texture.

{Click on any of the images to enlarge.}

We called our show GROWTH in honor of the new spring and the natural themes and materials in much of the group's work. The show features the work of six artists:

GROWTH will be up at Crossroads for two more weeks. All the work in the show is for sale. If you are local to Richmond and haven't had a chance to stop by, you have until May 8. This show is best experienced in person, so stop by if you can! Crossroads is open 10-6 M-Sat and 12-4 on Sundays. If you go, let us know what you think!